
Table of Contents
- Designing the Perfect Minimal Kitchen Utensil Display
- Choosing Materials for a Minimal Kitchen Utensil Display
- Smart Placement Strategies for Small and Large Kitchens
- Integrating Lighting to Highlight Your Minimal Kitchen Utensil Display
- Maintenance Tips to Keep Your Minimal Kitchen Utensil Display Pristine
- Balancing Function and Aesthetics: Real‑World Examples
- Quick Tips for an Instantly Refined Display
- Common Mistakes and How to Avoid Them
- Frequently Asked Questions
Minimal Kitchen Utensil Display: A Clean, Functional Approach
In today’s open‑plan homes, the kitchen often doubles as a social hub, making the visual impact of countertops and walls more important than ever. A well‑thought‑out utensil display can turn a chaotic work zone into a polished showcase, reinforcing the modern aesthetic while keeping tools within easy reach.
This article walks you through the essential principles of a minimal kitchen utensil display. Whether you live in a compact studio or a spacious contemporary home, you’ll learn how to balance simplicity with usability, choose the right materials, and avoid the pitfalls that turn a sleek concept into a cluttered mess.
By the end of the guide, you’ll have a clear plan for arranging spoons, spatulas, knives, and specialty tools so they enhance, rather than distract from, your kitchen’s design narrative.
Designing the Perfect Minimal Kitchen Utensil Display
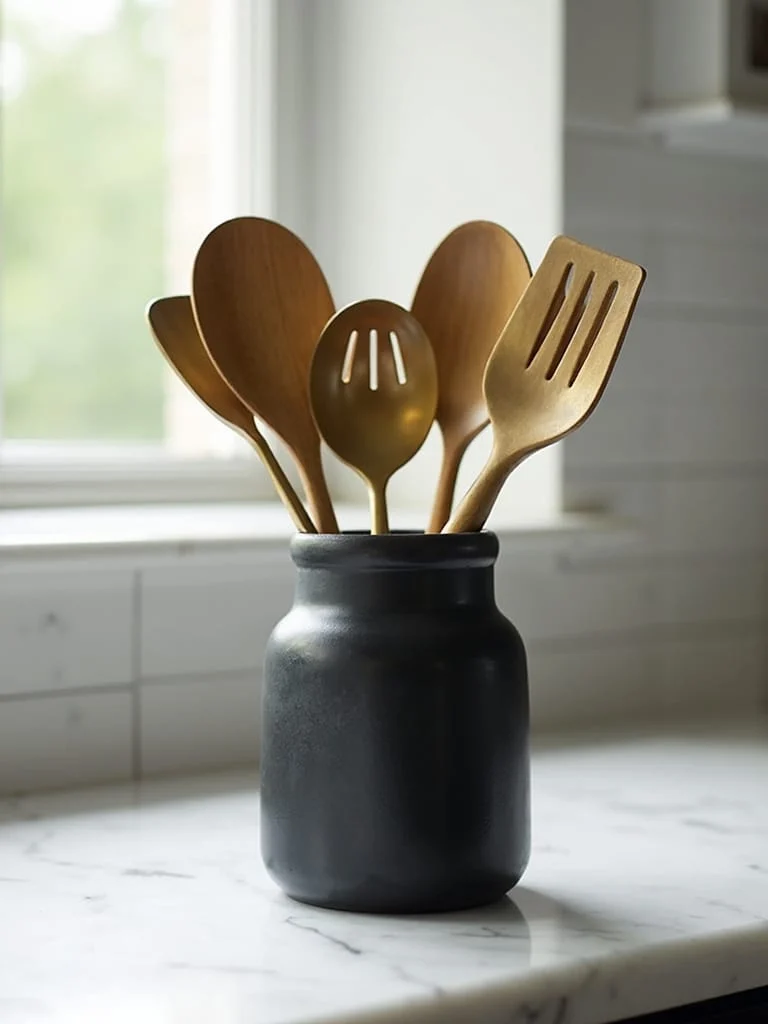
The core idea behind a minimal kitchen utensil display is restraint: only the tools you truly need should be visible, and each piece should have a designated home. Start by auditing your utensil collection—keep the essentials, store the occasional gadgets in drawers or a pantry. This curation reduces visual noise and makes the remaining items feel intentional.
Next, think about scale. A row of oversized copper ladles can dominate a small wall, while a set of slim stainless‑steel tongs can blend seamlessly into a narrow rail. Aim for a uniform height and consistent material palette to maintain harmony. When you line up your chosen utensils, step back and assess the overall silhouette; it should read as a single, cohesive form rather than a random assortment.
Choosing Materials for a Minimal Kitchen Utensil Display
- Stainless steel: Offers a sleek, reflective surface that pairs well with modern cabinetry.
- Wood: Lightly finished bamboo or maple introduces warmth without overwhelming the space.
- Matte black or brushed nickel: Provides a subtle contrast that’s easy on the eyes.
When selecting materials, consider durability and cleaning ease. For example, stainless steel tolerates frequent hand‑washing, while raw wood may need periodic oiling. A consistent material language unifies the display and reinforces the minimal vibe.
Smart Placement Strategies for Small and Large Kitchens
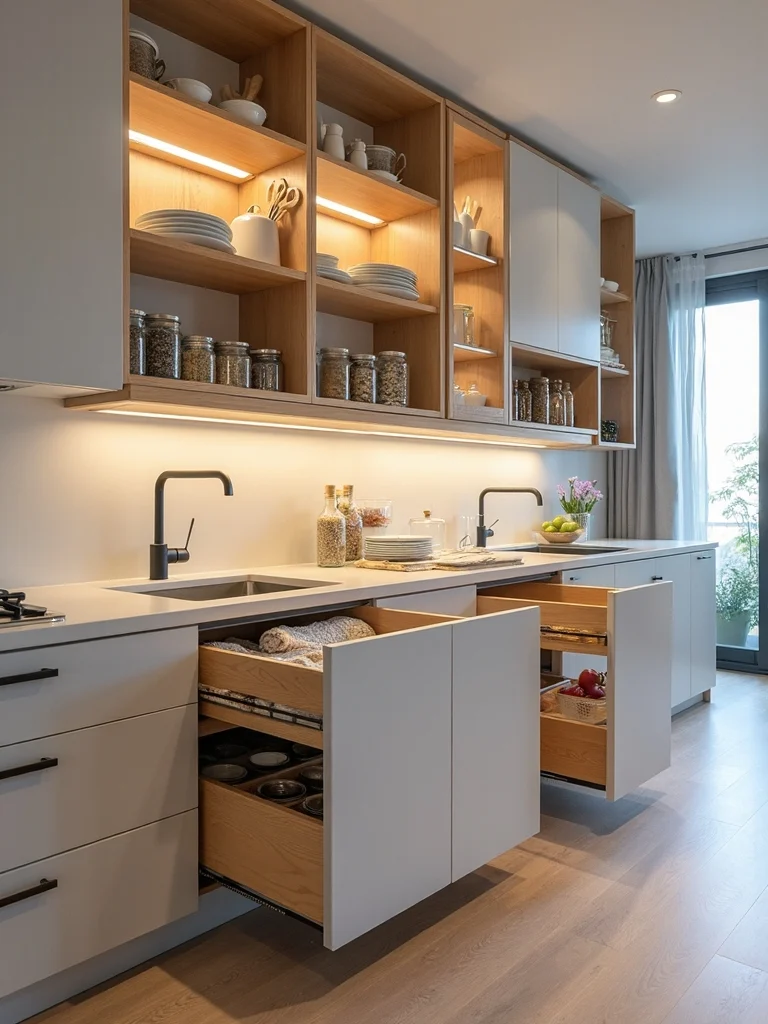
Location is key. In a compact kitchen, a magnetic strip mounted on the backsplash can hold knives and metal tools without sacrificing counter space. In larger kitchens, a dedicated utensil rail or open shelving unit positioned near the stovetop creates a logical workflow: reach, use, and replace.
For open‑concept layouts, keep the display within sight but out of the main traffic path. A floating shelf anchored to a single wall maintains visual lightness while giving you a handy staging area for cooking. If you prefer a completely concealed approach, consider a shallow pull‑out drawer that slides out like a secret panel—still a display, just a hidden one.
Integrating Lighting to Highlight Your Minimal Kitchen Utensil Display
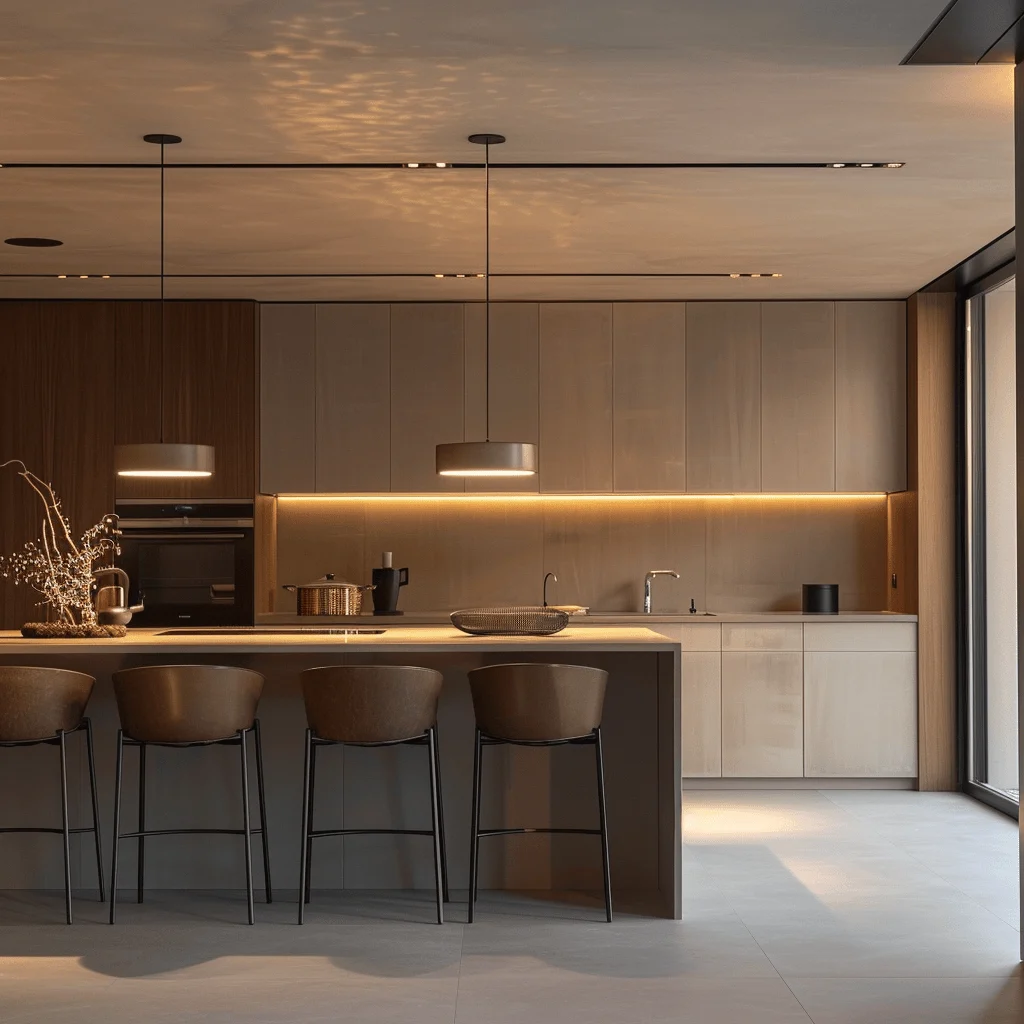
Lighting does more than illuminate; it frames. Subtle LED strips installed under a floating shelf add a soft glow that accentuates the silhouette of each utensil. Adjustable spotlights mounted on the ceiling can be directed toward the display during cooking, creating a functional yet decorative effect.
When choosing lighting, aim for a temperature around 3000–3500 K to complement warm wood tones or 4000–4500 K for a crisp stainless‑steel look. Dimmer switches give you control, allowing the display to become a focal point during dinner parties or fade into the background during casual meals.
Maintenance Tips to Keep Your Minimal Kitchen Utensil Display Pristine
Consistent upkeep preserves the clean aesthetic. After each use, rinse utensils promptly and dry them with a soft cloth to prevent water spots. For stainless steel, a quick wipe with a mixture of water and white vinegar restores shine without harsh chemicals.
Periodically rotate the items on the display; this prevents wear on high‑traffic spots and gives you a chance to reassess whether every piece still belongs. If a utensil shows signs of rust or damage, replace it—nothing disrupts a minimal design more than a tarnished element.
For deeper cleaning, remove the entire rack or rail and soak it in warm, soapy water. Rinse thoroughly and let it air dry before reinstalling. This routine ensures that the minimal kitchen utensil display remains a sleek backdrop rather than a hidden mess.
Balancing Function and Aesthetics: Real‑World Examples
Consider a Scandinavian‑inspired kitchen where a single row of matte black utensil holders sits above a white marble countertop. The contrast is subtle yet striking, and the uniform black finish ties the entire space together. Another example: a rustic farmhouse kitchen uses reclaimed wooden dowels as a hanging system for wooden spoons, merging practicality with organic texture.
In both scenarios, the minimal kitchen utensil display serves a dual purpose—quick access during cooking and an understated decorative element that reinforces the room’s style language. For more inspiration on blending function with modern flair, explore our guide on living room décor with ceramic centerpiece décor.
Quick Tips for an Instantly Refined Display
- Limit the visible collection to 6‑8 essential pieces.
- Choose one finish (all stainless, all wood, or all matte black) for uniformity.
- Use magnetic strips for knives to free up shelf space.
- Install low‑profile LED lighting for a subtle highlight.
- Rotate items seasonally to keep the display fresh.
Common Mistakes and How to Avoid Them
Over‑crowding: Packing every spoon, spatula, and whisk onto a single rail defeats the purpose of minimalism. Keep only daily‑use tools visible and store the rest.
Mismatched finishes: A mix of polished chrome, raw wood, and colored plastic can look chaotic. Stick to one or two complementary finishes.
Ignoring workflow: Placing the display far from the cooking zone forces unnecessary movement. Position it within arm’s reach of the stove or prep area.
Neglecting lighting: A dark, hidden rack may appear neat but becomes a safety hazard. Proper illumination ensures you can see what you’re grabbing, especially in dim evenings.
For a deeper dive into functional fixtures, check out our article on single hole vs widespread faucet: choosing the right kitchen fixture.
Frequently Asked Questions
What is the best material for a minimal kitchen utensil display?
Stainless steel and brushed nickel are popular for their sleek appearance and low maintenance. Wood adds warmth but requires occasional oiling. Choose based on the overall kitchen palette and how much upkeep you’re comfortable with.
Can I create a minimal display in a rented apartment?
Absolutely. Use removable adhesive hooks, magnetic strips, or freestanding racks that don’t require drilling. This way you can achieve a polished look while preserving the original walls.
How many utensils should be visible at once?
Aim for 6‑8 core items: a spatula, a ladle, a whisk, a pair of tongs, a chef’s knife, and a wooden spoon. This keeps the area uncluttered while covering most cooking needs.
Is it okay to mix different utensil styles?
Mixing styles can work if the finishes complement each other. For a truly minimal aesthetic, keep the shapes simple and avoid overly decorative handles.
What lighting options work best?
Low‑profile LED strips or recessed spotlights provide even illumination without adding visual bulk. Choose warm white for wood tones or cooler white for stainless steel to enhance the material’s natural look.
How often should I reassess my utensil display?
A seasonal review—every three to four months—helps you remove tools you no longer use and refresh the visual arrangement, maintaining the minimal vibe.
Looking for more creative ways to incorporate natural elements into your home? Our balcony plant décor ideas article offers simple greenery hacks that can also inspire kitchen styling.
Finally, if you enjoy hands‑on projects, explore DIY décor with wooden décor crafts for custom utensil holders that match your personal style.
Creating a minimal kitchen utensil display is less about strict rules and more about thoughtful curation, consistent finishes, and smart placement. By applying the principles outlined above—selecting essential tools, choosing cohesive materials, integrating subtle lighting, and maintaining the arrangement—you’ll transform a functional necessity into a stylish focal point. Embrace the simplicity, enjoy the efficiency, and let your kitchen speak the language of modern, understated elegance.