Table of Contents
- Understanding the Basics: What Is a Flagstone Patio?
- Flagstone Patio Mortar vs Sand: Structural Considerations
- Installation Process: Step‑by‑Step Comparison
- Flagstone Patio Mortar vs Sand – Preparation and Laying
- Durability and Maintenance: Long‑Term Performance
- Aesthetic Impact: How the Base Influences Design
- Cost Comparison: Budgeting for Mortar or Sand
- Quick Tips for a Successful Flagstone Patio
- Common Mistakes to Avoid When Choosing Between Mortar and Sand
- Frequently Asked Questions
- Making the Final Decision: Which Method Fits Your Lifestyle?
Flagstone Patio Mortor vs Sand – Which Is Right for Your Outdoor Space?
When it comes to building a flagstone patio, the foundation you choose can make or break the final look, durability, and overall enjoyment of the area. Homeowners often find themselves debating flagstone patio mortar vs sand, wondering which material will provide the best stability, ease of installation, and long‑term performance. The decision isn’t merely about cost; it’s about how each method interacts with climate, foot traffic, and the aesthetic you aim to achieve.
In this guide, we’ll walk through the essential differences between using mortar and sand as a bedding material for flagstone. You’ll learn the technical advantages, the practical steps for each approach, and the common pitfalls that can turn a beautiful patio into a maintenance nightmare. By the end, you’ll feel confident choosing the option that aligns with your design goals, budget, and the specific conditions of your backyard.
Whether you’re a seasoned DIY enthusiast or a first‑time homeowner, understanding the nuances of flagstone patio mortar vs sand will empower you to create an outdoor living space that lasts for years while staying true to modern home décor trends.
Understanding the Basics: What Is a Flagstone Patio?
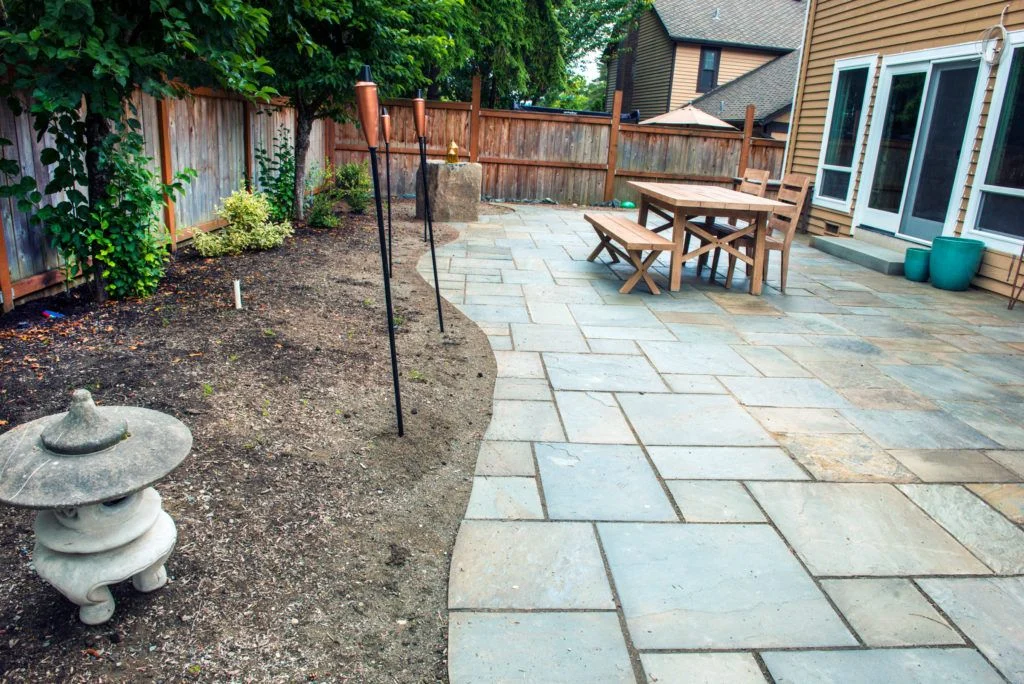
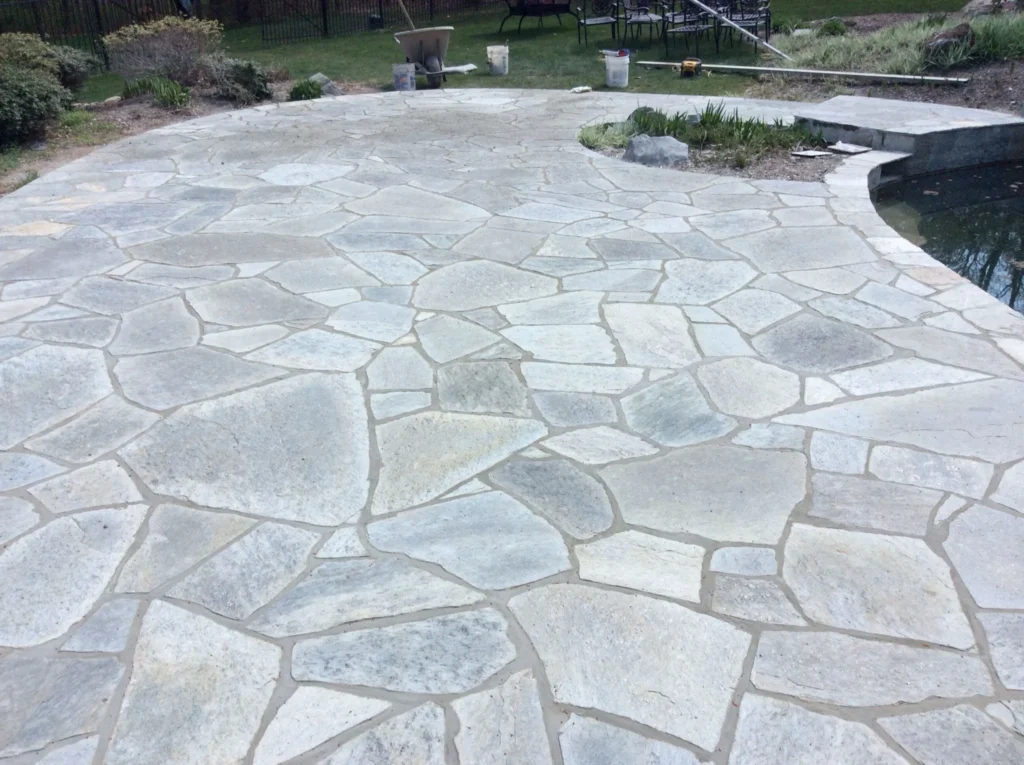
Flagstone is a naturally split sedimentary rock that offers a rustic, yet refined look for patios, walkways, and garden paths. Its irregular shapes and earthy tones make it a favorite for designers seeking a seamless blend with the surrounding landscape. However, the beauty of flagstone can quickly diminish if the underlying base isn’t prepared correctly.
The two most common bedding methods are mortar and sand. Mortar is a cement‑based mixture that binds stones together, creating a rigid, monolithic surface. Sand, on the other hand, acts as a flexible, gravity‑held bed that allows stones to shift slightly with temperature changes and ground movement. Each method has its own set of advantages, and the choice often hinges on the project’s specific requirements.
Flagstone Patio Mortar vs Sand: Structural Considerations
From a structural standpoint, the primary difference between mortar and sand lies in load distribution and movement accommodation. Mortar creates a solid matrix that locks stones in place, which is ideal for high‑traffic areas or slopes where shifting could cause uneven surfaces. Sand, while less rigid, offers better drainage and can tolerate minor ground shifts without cracking.
When evaluating flagstone patio mortar vs sand, ask yourself these questions:
- Will the patio be subject to heavy furniture, grills, or frequent foot traffic?
- Is the installation area prone to moisture accumulation or frost heave?
- Do you prefer a more “crafted” look with precise stone placement, or a natural, slightly irregular arrangement?
Answering these will guide you toward the method that best meets your structural needs.
Installation Process: Step‑by‑Step Comparison

Both mortar and sand require careful preparation, but the steps differ enough to affect project timelines and skill levels. Below is a side‑by‑side look at the typical workflow for each method.
Flagstone Patio Mortar vs Sand – Preparation and Laying
Using Mortar
- Excavate and Compact: Remove topsoil to a depth of 4–6 inches, then compact the sub‑base with a plate compactor.
- Install a Gravel Base: Spread 2‑3 inches of crushed stone, compact again for stability.
- Mix Mortar: Combine Portland cement, sand, and water to a peanut‑butter consistency. Add lime for flexibility if desired.
- Lay Flagstone: Apply a thin layer of mortar to the back of each stone, set it onto the base, and tap gently to level.
- Joint Filling: Fill gaps with mortar or a sand‑lime mix, then smooth with a trowel.
- Curing: Keep the surface moist for 24–48 hours to prevent premature drying.
Using Sand
- Excavate and Compact: Same initial steps as mortar – a well‑compacted sub‑base is crucial.
- Add a Sand Bedding: Spread 1‑2 inches of coarse‑graded sand, screed level, and lightly compact.
- Lay Flagstone: Place each stone directly onto the sand, tapping with a rubber mallet to set it into the bed.
- Leveling: Use a level and a piece of wood to check that each stone is flush with its neighbors.
- Backfilling: Sweep fine sand into joints to lock stones in place and prevent shifting.
- Sealing (Optional): Apply a breathable sealant to protect against stains and moisture.
Both methods demand precision, but mortar typically requires more mixing, curing time, and skill to avoid visible seams. Sand is more forgiving, making it a popular choice for DIY homeowners.
Durability and Maintenance: Long‑Term Performance
When you compare flagstone patio mortar vs sand over a ten‑year horizon, a few key factors emerge: weather resistance, ease of repair, and upkeep frequency.
Mortar‑Based Patios are highly resistant to shifting and provide a flat, even surface that resists weed growth. However, if cracks develop in the mortar due to freeze‑thaw cycles, they can be costly to repair, often requiring removal of the affected stones and re‑mixing of mortar.
Sand‑Based Patios excel in drainage, reducing water pooling and the risk of frost heave. Over time, the sand may settle, causing stones to sink slightly. This is easily remedied by re‑sweeping sand into the joints, a task that most homeowners can handle without professional help.
In climates with harsh winters, many experts recommend a sand bedding with a polymer‑enhanced joint sand to improve stability while preserving drainage benefits.
Aesthetic Impact: How the Base Influences Design
The visual outcome of your patio can be subtly but significantly affected by the chosen base. Mortar creates a more uniform, “engineered” look, especially when the joints are filled with a matching color. This method works well for modern, sleek designs where clean lines are essential.
Sand, by contrast, offers a more organic, rustic vibe. The fine sand visible in the joints gives the impression that the stones are naturally settled, aligning with trends in outdoor & miscellaneous décor that emphasize natural materials. For a garden‑centric patio surrounded by foliage, the sand approach often feels more harmonious.
If you’re looking to blend the patio with a contemporary kitchen extension, you might find the mortar finish complements the crisp surfaces of quartz countertops or stainless‑steel appliances. Speaking of kitchens, our recent comparison of Caesarstone vs Pental Quartz – Which Engineered Stone Wins for Your Kitchen? provides further insight into material pairings that enhance modern interiors.
Cost Comparison: Budgeting for Mortar or Sand
Budget is a practical consideration that often sways the decision between mortar and sand. While both require a stable sub‑base, the material and labor costs differ.
- Materials: Mortar (cement, sand, lime) typically costs 2‑3 times more per square foot than sand alone. However, the price gap narrows if you already have cement on hand.
- Labor: Professional installation for mortar can command higher rates due to mixing, placement, and curing requirements. Sand installations are quicker, often reducing labor hours by 30‑40%.
- Long‑Term Savings: Mortar may reduce future maintenance costs by preventing stone movement, but sand’s easy repairability can also save money over time.
For homeowners on a tighter budget, a sand base paired with a high‑quality polymer joint sand offers a cost‑effective solution without sacrificing performance.
Quick Tips for a Successful Flagstone Patio
- Test the drainage of your sub‑base before laying any material; proper slope (about 1‑2% away from the house) prevents water damage.
- Use a laser level or string line to maintain consistent stone height, especially when using mortar.
- Choose a joint sand with polymer additives for better resistance to erosion and weed growth.
- Seal the finished patio with a breathable, UV‑stable sealant to protect against stains while allowing moisture to escape.
- Consider installing a perimeter border of concrete or pavers to contain the sand or mortar and give the patio a finished look.
Common Mistakes to Avoid When Choosing Between Mortar and Sand
Even seasoned DIYers can slip up if they overlook key details. Below are frequent errors and how to prevent them:
- Insufficient Compaction: Skipping proper compaction of the sub‑base leads to uneven settlement. Always use a plate compactor and verify firmness with a tamping rod.
- Wrong Sand Grade: Using fine sand for the bedding layer can cause stones to shift. Opt for coarse‑graded sand (often called “sharp sand”) for the base, and fine sand only for joint filling.
- Mixing Mortar Too Wet: Over‑watering mortar weakens its bond. Aim for a consistency that holds its shape without slumping.
- Ignoring Expansion Joints: Large patios need expansion joints to accommodate movement. Install them at intervals of 10‑12 feet.
- Skipping Sealing: Unsealed flagstone is vulnerable to stains from oil, wine, or plant sap. A clear sealant preserves color and reduces slip risk.
Frequently Asked Questions
Can I switch from sand to mortar after the patio is already installed?
It’s possible but labor‑intensive. You would need to lift each stone, remove the sand, install a new mortar bed, and reset the stones. For small areas, it may be feasible, but for a full patio, rebuilding is usually more cost‑effective.
Which base is better for a sloped patio?
Mortar provides a more stable surface on slopes because it locks stones in place, reducing the chance of sliding. However, a well‑compacted sand base with proper drainage can also work if the slope is gentle (under 5%).
Do I need a waterproof membrane under the mortar or sand?
A waterproof membrane isn’t required for most residential patios, but in areas with high groundwater or heavy rain, a breathable membrane can add an extra layer of protection against moisture migration.
How often should I re‑sweep sand into the joints?
Typically once a year, or after heavy rain or seasonal changes that cause sand to wash out. Regular sweeping maintains joint stability and reduces weed growth.
Is there an eco‑friendly option for mortar?
Yes. Look for low‑carbon cement blends or mortar mixes that incorporate recycled aggregates. These alternatives lower the environmental impact while still offering strong bonding.
Making the Final Decision: Which Method Fits Your Lifestyle?
Choosing between flagstone patio mortar vs sand ultimately comes down to how you use the space, the climate you live in, and your willingness to invest time and money. If you envision a high‑traffic entertaining area that must stay perfectly level, mortar is likely the better choice. If you prefer a natural, easily maintainable surface that handles rain and freeze‑thaw cycles gracefully, sand is the way to go.
Remember, the foundation is the canvas for your outdoor design. Pair your choice with thoughtful stone selection, complementary planting, and appropriate lighting to create a patio that not only looks great but also stands the test of time.
For further inspiration on how outdoor spaces can enhance indoor living, explore our article on How to Decorate a Ranch Style Home – A Complete Guide. The synergy between interior décor and exterior patios is a hallmark of modern home styling.
Now that you’ve weighed the pros and cons, you’re ready to lay the groundwork for a beautiful flagstone patio that reflects your personal style and meets the functional demands of everyday life. Happy building!
[ CATEGORY ]: Outdoor & Misc