Table of Contents
- Planning Your Extension: Measuring, Style, and Safety
- Key measurements to take
- Choosing the Right Hardware for Extending Light Fixtures
- Fixed brackets vs. swivel arms
- Preparing the Wall and Electrical Connections
- Step‑by‑step preparation
- Installing the Extension Arm and Mounting the Fixture
- Mounting the bracket
- Connecting the wiring
- Attaching the fixture
- Finishing Touches: Aesthetic Details and Practical Adjustments
- Concealing wiring
- Adding decorative elements
- Adjusting the angle
- Quick Tips for a Smooth Extension Project
- Common Mistakes When Extending Light Fixtures and How to Avoid Them
- Overloading the circuit
- Improper anchoring
- Neglecting the ground wire
- Choosing the wrong finish
- Frequently Asked Questions
- Can I extend a light fixture without hiring an electrician?
- What type of light bulb works best for an extended wall fixture?
- How far can I safely extend a light fixture from the wall?
- Is it possible to make the extension reversible for renters?
- Do I need a new switch for an extended fixture?
- Can I paint the extension arm to match my wall?
How to Extend Light Fixture from Wall: A Complete DIY Guide
Extending a light fixture from the wall can instantly transform a room’s ambiance, add functional task lighting, and free up valuable surface space. Whether you’re updating a cramped hallway, a modern bedroom, or a sleek kitchen island, knowing how to extend light fixture from wall is a practical skill that blends electrical safety with design finesse. In this guide we’ll walk you through the entire process—from planning and selecting the right hardware to wiring, mounting, and finishing touches—so you can confidently tackle the project on your own.
Homeowners often overlook the impact of a well‑placed wall‑mounted light. A simple extension not only brightens dark corners but also creates a visual line that can make a space feel larger and more cohesive. For renters, a reversible mounting method offers a stylish upgrade without permanent damage, while DIY enthusiasts enjoy the satisfaction of customizing illumination to suit personal taste. Below you’ll discover the essential steps, tools, and design considerations that make extending a light fixture from wall both safe and aesthetically rewarding.
Before diving into the hands‑on work, it’s helpful to understand the basic principles behind wall lighting extensions. This includes the types of brackets and arms available, the importance of proper wiring, and how to match the fixture’s style with the room’s overall décor. By the end of this article you’ll have a clear roadmap for turning a flat wall into a dynamic lighting canvas.
Planning Your Extension: Measuring, Style, and Safety

Successful projects start with thoughtful planning. When you ask yourself how to extend light fixture from wall, the first answer lies in the details of the space you’re working with. Measure the distance you want the fixture to project, consider the height of the ceiling, and think about the activities that will take place beneath the light.
Key measurements to take
- Projection length: Decide how far the fixture should jut out—typically 6–12 inches works well for task lighting, while 18–24 inches creates a dramatic statement.
- Mounting height: For general illumination aim for 66–72 inches from the floor; for accent lighting you can go lower, especially over a kitchen island or vanity.
- Clearance: Ensure there’s enough space for the arm, wiring, and any decorative elements without hitting furniture or headroom.
Next, align the fixture’s style with the room’s décor. A minimalist brushed‑nickel arm complements a soft minimalist home interior, while an industrial black steel bracket can add edge to a loft‑style living room. For inspiration on cohesive styling, check out our soft minimalist home interior ideas article.
Safety is non‑negotiable. Verify that the existing wall outlet or switch box can support the additional load and that the wall type (drywall, plaster, or masonry) can accommodate the mounting hardware. If you’re unsure about the electrical capacity, consult a licensed electrician before proceeding.
Choosing the Right Hardware for Extending Light Fixtures
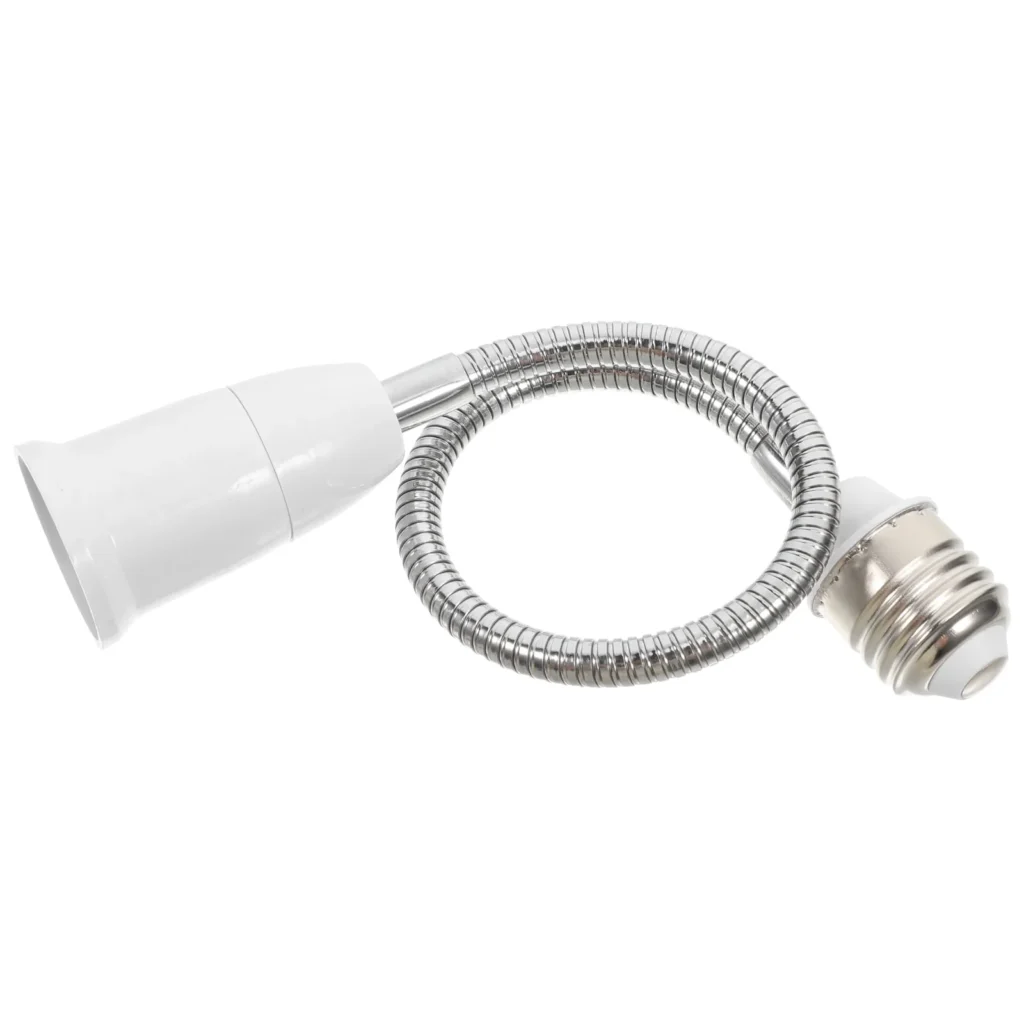
The hardware you select determines both the visual outcome and the structural integrity of the extended fixture. When you research how to extend light fixture from wall, you’ll encounter a variety of brackets, swivel arms, and extension kits. Here’s a quick guide to the most common options:
Fixed brackets vs. swivel arms
- Fixed brackets: Offer a clean, static look; ideal for recessed lighting or when the fixture’s position won’t need adjustment.
- Swivel arms: Provide flexibility to direct light where needed; perfect for reading nooks, kitchen islands, or art displays.
Materials range from polished chrome and brushed nickel to matte black and aged brass. Match the finish to other hardware in the room—door handles, cabinet pulls, and faucet finishes—to create a harmonious design language.
For those seeking a quick, no‑drill solution, consider surface‑mount extension plates that clamp onto the existing fixture’s base. These are especially renter‑friendly and can be removed without leaving holes.
Preparing the Wall and Electrical Connections

Now that you know how to extend light fixture from wall, it’s time to prep the wall and wiring. This stage involves turning off power, removing the old fixture (if applicable), and ensuring the wall can support the new hardware.
Step‑by‑step preparation
- Turn off the circuit: Switch off the breaker at the main panel and verify the absence of voltage with a non‑contact tester.
- Remove the existing fixture: Unscrew the mounting plate, disconnect the wires (note the color coding), and set the old hardware aside.
- Inspect the wall box: Ensure it’s rated for the weight of the extended fixture. If the box is weak, replace it with a metal remodeling box.
- Mark drilling points: Use a stud finder to locate studs for anchoring the bracket; if studs aren’t available, employ heavy‑duty drywall anchors.
- Drill pilot holes: Choose a drill bit slightly smaller than the anchor size to avoid splitting the wall material.
If you’re extending a fixture that includes a built‑in switch, you’ll need to splice the switch wires into the new arm’s wiring harness. Follow the local electrical code and use wire nuts rated for the gauge you’re working with.
Installing the Extension Arm and Mounting the Fixture
With the wall prepped, you can finally address the core question of how to extend light fixture from wall. The installation process is straightforward if you follow these detailed steps:
Mounting the bracket
- Secure the bracket to the wall using the pre‑drilled holes and appropriate anchors.
- Double‑check that the bracket is level; a misaligned arm will cause the fixture to tilt and look unprofessional.
- Attach the swivel arm (if using) to the bracket, tightening all set screws firmly.
Connecting the wiring
- Thread the electrical cable through the arm’s hollow core (if available) to keep the wires hidden.
- Match the fixture’s wire colors with those in the wall box: black (or red) to hot, white to neutral, and green or bare copper to ground.
- Secure each connection with a wire nut and wrap with electrical tape for added safety.
- Pull the cable gently through the arm, leaving enough slack for the fixture’s base.
Attaching the fixture
Once the wiring is in place, mount the light fixture onto the arm’s end plate. Align the screw holes, tighten the mounting screws, and test the fixture by restoring power at the breaker. If the light flickers or doesn’t turn on, re‑inspect the connections.
Finishing Touches: Aesthetic Details and Practical Adjustments
After the hardware is securely installed, the final phase focuses on polishing the look and ensuring long‑term usability. Here’s how to refine the project once you’ve answered how to extend light fixture from wall:
Concealing wiring
- Use cable covers that match the wall color, or run the cable inside a decorative conduit.
- Apply paint‑able caulk along any gaps where the arm meets the wall for a seamless finish.
Adding decorative elements
Consider attaching a small shelf or decorative plate to the arm for extra storage—ideal for a hallway where you can place keys or a decorative vase. For more ideas on integrating décor with lighting, see our living room shelf styling with plants article.
Adjusting the angle
If you opted for a swivel arm, experiment with different angles to achieve the best illumination for reading, cooking, or highlighting artwork. Lock the arm securely after positioning to prevent drift over time.
Quick Tips for a Smooth Extension Project
- Use a voltage tester before and after the installation to confirm power is truly off and then restored safely.
- Choose a fixture with a low heat output (LED) to reduce the risk of overheating on a wall‑mounted arm.
- Label the wires before disconnecting them; this saves time and reduces errors during reconnection.
- If the wall surface is uneven, sand it lightly and apply a primer before painting to ensure a flawless finish.
- Keep a spare set of wire nuts and a small screwdriver in your toolkit for any on‑the‑fly adjustments.
Common Mistakes When Extending Light Fixtures and How to Avoid Them
Even seasoned DIYers can slip up. Here are the most frequent pitfalls encountered when learning how to extend light fixture from wall and practical ways to sidestep them:
Overloading the circuit
Adding an extra fixture increases the total amperage draw. Check the breaker rating and the fixture’s wattage; if the combined load approaches 80% of the circuit’s capacity, consider installing a dedicated line.
Improper anchoring
Mounting the bracket directly into drywall without studs can cause sagging. Use toggle bolts or molly anchors rated for the weight of the fixture, or locate a stud for a more secure attachment.
Neglecting the ground wire
A missing ground connection creates a shock hazard. Always attach the green or bare copper wire to the metal mounting bracket and the wall box’s grounding screw.
Choosing the wrong finish
A finish that clashes with surrounding hardware can look jarring. Before purchasing, bring a sample of the room’s existing fixtures or use a digital color‑matching app to verify compatibility.
Frequently Asked Questions
Can I extend a light fixture without hiring an electrician?
Yes, if you have basic electrical knowledge and follow local codes. The key steps—turning off power, correctly connecting wires, and using proper mounting hardware—are manageable for most DIYers. However, if you’re uncomfortable with wiring or the existing circuit is outdated, it’s safest to consult a licensed professional.
What type of light bulb works best for an extended wall fixture?
LED bulbs are the top choice because they generate less heat, consume less energy, and come in a variety of color temperatures to match any décor style. Choose a bulb with a compatible base (E26 or GU10) and an appropriate wattage rating for the fixture.
How far can I safely extend a light fixture from the wall?
Most manufacturers recommend a projection of no more than 24 inches for standard brackets. For heavier fixtures, check the bracket’s load rating; exceeding it can lead to sagging or failure.
Is it possible to make the extension reversible for renters?
Absolutely. Use clamp‑on brackets or removable adhesive mounting plates designed for temporary installations. This allows you to add a stylish lighting solution without drilling permanent holes.
Do I need a new switch for an extended fixture?
If the existing switch controls the original fixture, you can wire the extension to the same switch. For independent control, install a new single‑pole switch on the same circuit, ensuring it complies with local electrical codes.
Can I paint the extension arm to match my wall?
Yes, provided the arm is made of metal or a paint‑friendly material. Use a primer designed for metal, followed by a paint that matches your wall color. Allow each coat to dry fully before handling.
Extending a light fixture from wall is a rewarding blend of practical skill and creative design. By measuring accurately, selecting the right hardware, wiring safely, and polishing the final look, you’ll add both function and style to any room. Whether you’re brightening a hallway, accenting a bedroom, or creating a focal point in a kitchen, the techniques outlined here empower you to make confident, lasting improvements to your home.
Ready to start your own lighting makeover? Gather your tools, follow the steps, and enjoy the glow of a space that truly reflects your personal style. For more inspiration, explore our other guides on modern home styling and décor trends.