
Table of Contents
- DIY décor with handmade wall prints: Planning Your Gallery
- DIY décor with handmade wall prints: Choosing Materials
- Creating Your Design: From Inspiration to Execution
- Printing and Finishing: Bringing Your Vision to Life
- Styling Tips for Different Rooms
- Living Room
- Bedroom
- Kitchen
- Entryway
- Home Office
- Quick Home Décor Tips
- Common Mistakes and How to Avoid Them
- Frequently Asked Questions
- Conclusion
DIY décor with handmade wall prints: Creative Home Styling
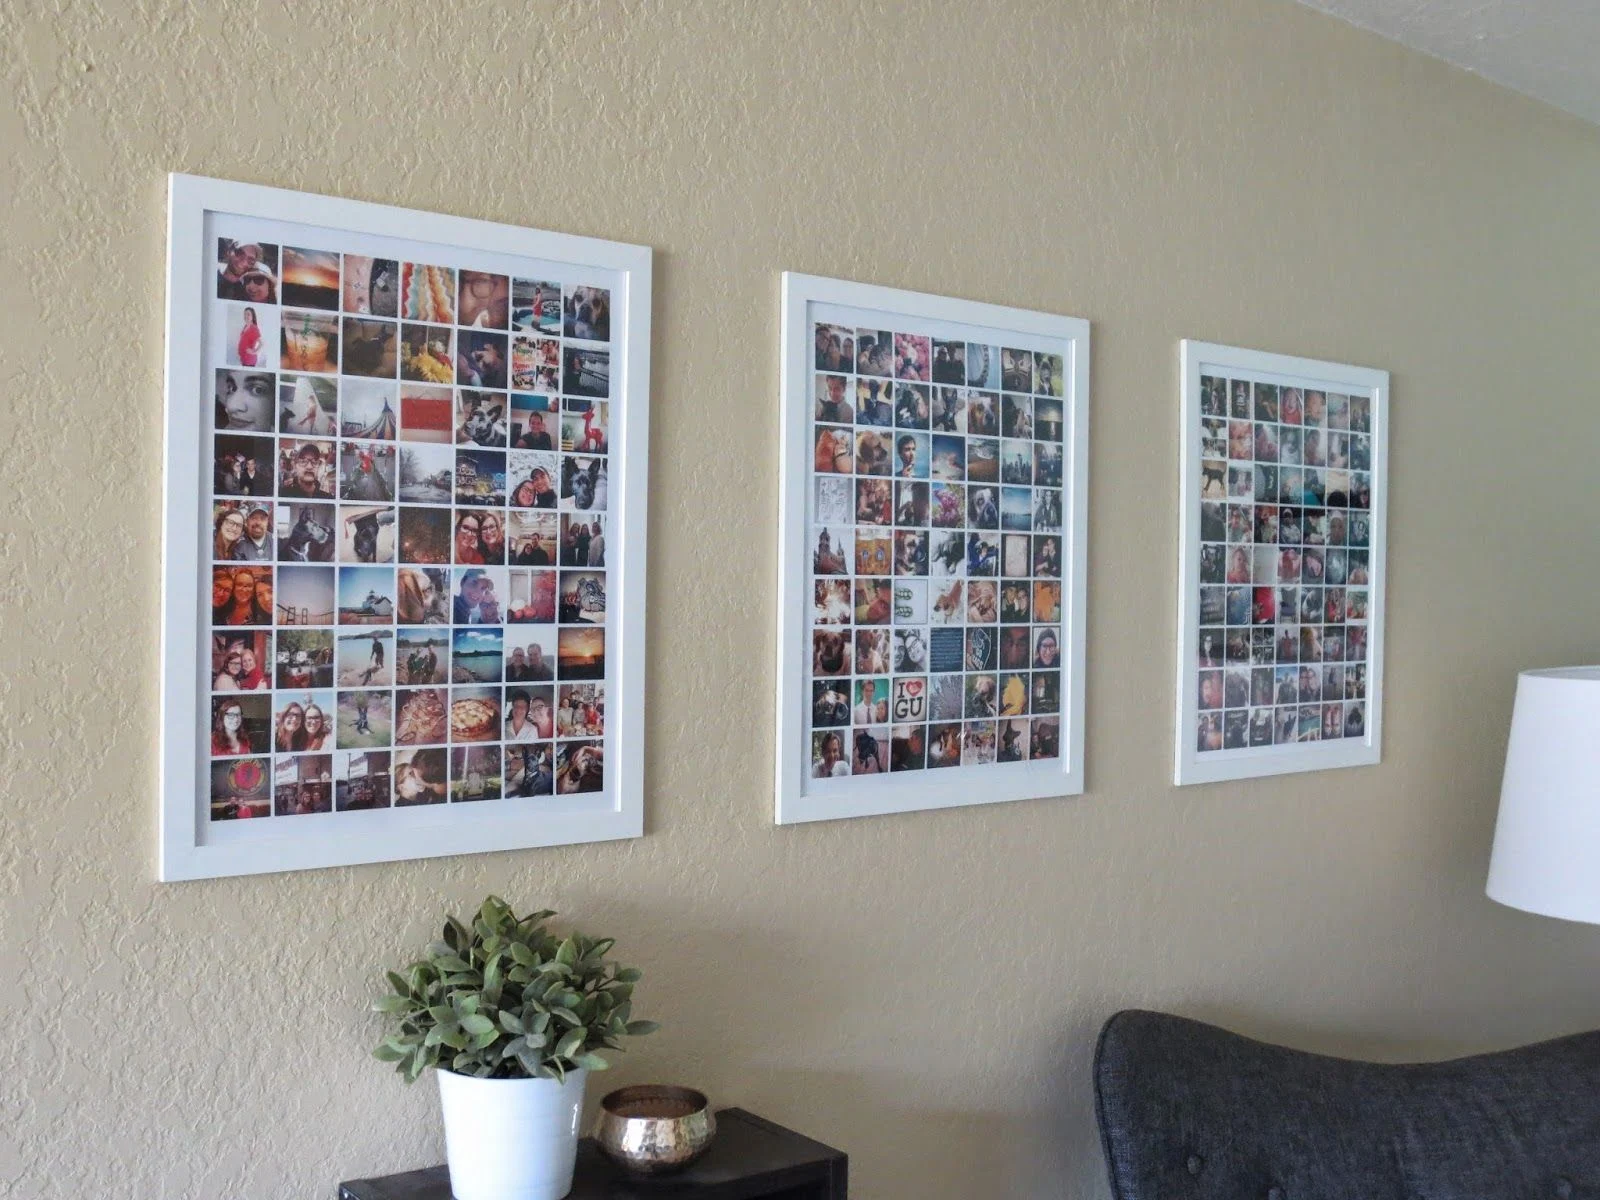
When it comes to personalizing a living space, few elements have the immediate visual impact of wall art. Yet buying mass‑produced canvases can quickly drain a budget and often feels impersonal. That’s where DIY décor with handmade wall prints steps in—offering a blend of creativity, affordability, and a genuine sense of ownership. Whether you’re renting a compact apartment or revamping a family home, crafting your own prints lets you tailor colors, themes, and sizes to suit any room.
This guide walks you through the entire process, from conceptualizing a design to selecting materials, printing, framing, and finally hanging the artwork with confidence. You’ll also find quick tips, common pitfalls to avoid, and answers to frequently asked questions. By the end, you’ll have a solid roadmap for turning blank walls into curated galleries that reflect your personality and style.
DIY décor with handmade wall prints: Planning Your Gallery

The first step in any successful home styling project is a clear plan. For DIY décor with handmade wall prints, consider the room’s purpose, existing color palette, and the mood you wish to create. A living room that hosts gatherings might benefit from bold, oversized prints that become conversation starters, while a bedroom calls for softer, calming imagery that promotes relaxation.
Start by measuring the wall space you intend to fill. Create a simple sketch—either on paper or using a free digital tool—to map out the arrangement. Think about visual balance: a single large piece can dominate a wall, whereas a gallery wall of smaller prints can add rhythm and texture. When you have a rough layout, you’ll know how many prints you need and what dimensions each should be.
Don’t forget to account for lighting. Natural light can highlight colors, while dimmer artificial lighting may mute subtle hues. If a wall receives strong sunlight, consider UV‑resistant paper to prevent fading. This planning phase sets the foundation for a cohesive look and ensures that your DIY décor with handmade wall prints integrates smoothly with the rest of the room.
DIY décor with handmade wall prints: Choosing Materials
The material you select influences both the aesthetic and durability of your finished piece. Here are some popular options:
- Matte heavyweight paper: Ideal for detailed illustrations and photography. It absorbs ink evenly and reduces glare.
- Canvas fabric: Offers a classic painterly texture. When stretched over a frame, it adds depth without the need for a glass cover.
- Textured watercolor paper: Perfect for hand‑painted designs, giving a tactile feel that digital prints can’t replicate.
- Recycled kraft paper: Eco‑friendly and gives a rustic vibe, especially when paired with botanical or nature‑inspired motifs.
When purchasing, ask your printer about archival quality inks—these are pigment‑based and resist fading over time. If you’re printing at home, invest in a high‑resolution inkjet printer and use pigment ink cartridges. This combination ensures that your DIY décor with handmade wall prints remains vivid for years to come.
Creating Your Design: From Inspiration to Execution

Inspiration can strike from anywhere: a travel photograph, a favorite quote, or even abstract shapes you doodle during a coffee break. Digital tools like Adobe Illustrator, Canva, or the free GIMP software make it easy to translate ideas into printable files. Keep resolution high—at least 300 dpi—for crisp results, especially for larger prints.
For those less comfortable with graphic software, hand‑drawing your artwork and scanning it at 600 dpi preserves detail while allowing you to add digital tweaks later. Experiment with color palettes that echo the room’s existing décor; a cohesive scheme ties the space together. If you’re unsure, refer to our guide on wall décor with botanical prints for nature‑based inspiration that works in virtually any setting.
Once your design is finalized, save it as a PDF or TIFF file to prevent compression artifacts. If you’re printing multiple sizes, create separate files for each dimension to avoid scaling issues. This meticulous approach guarantees that your DIY décor with handmade wall prints looks professional, even though you made it yourself.
Printing and Finishing: Bringing Your Vision to Life
Now comes the exciting part—printing. If you have a high‑quality home printer, you can produce small to medium‑size prints (up to 24 × 36 inches) on heavyweight paper. For larger formats, partner with a local print shop; many offer quick turnaround and can handle canvas or specialty papers.
After printing, consider finishing touches that enhance durability and visual appeal:
- Lamination: Adds a protective layer and can give a sleek, modern sheen.
- Matting: A neutral mat board creates breathing space between the print and frame, adding elegance.
- Framing: Choose frames that complement the room’s style—black metal for industrial looks, reclaimed wood for farmhouse vibes.
- Floating mounts: Secure the print without a traditional frame, creating a “floating” effect that feels contemporary.
When mounting, use acid‑free tape or archival‑grade hinges to protect the paper. If you’re hanging a canvas, a simple picture‑hanging hook works; for framed prints, consider a French cleat system for added stability. This attention to detail ensures your DIY décor with handmade wall prints not only looks great but also endures the test of time.
Styling Tips for Different Rooms
Every room has its own functional and aesthetic requirements. Below are tailored suggestions for integrating handmade prints into popular spaces.
Living Room
A living room often serves as the visual centerpiece of a home. To make a statement, choose one oversized print—perhaps a landscape or abstract piece—that spans the width of the sofa. Pair it with a subtle rug, like the one discussed in What Color Rug With Cream Couch?, to anchor the space. If the room is smaller, create a gallery wall using 3–5 coordinated prints of varying sizes, ensuring at least 2 inches of spacing between frames.
Bedroom
In the bedroom, prioritize calm and continuity. Soft pastel tones or muted monochrome photographs can promote relaxation. A single print above the headboard—perhaps a hand‑drawn quote—adds personality without overwhelming the space. For couples, consider complementary prints on either side of the bed to create visual balance.
Kitchen
Even kitchens can benefit from wall art. Choose prints that are moisture‑resistant, such as laminated paper or sealed canvas. A series of small, food‑themed illustrations—like herbs, fruits, or vintage kitchen tools—can bring a playful, culinary vibe. For additional inspiration, see our article on Kitchen décor with ceramic mugs for ways to blend functional objects with decorative prints.
Entryway
The entryway sets the tone for the rest of the home. A bold, vertically oriented print can draw the eye upward, making a narrow foyer feel more spacious. Pair the artwork with a sleek plant stand, as explored in Entryway Décor with Plant Stands, for a welcoming, layered look.
Home Office
Productivity thrives in an inspiring environment. Choose motivational quotes, abstract geometric shapes, or muted nature scenes that stimulate focus without distraction. Position the print at eye level behind your desk to serve as a subtle backdrop during video calls.
Quick Home Décor Tips
- Use a consistent frame color throughout a gallery wall to create cohesion.
- Incorporate texture by mixing matte paper prints with canvas pieces.
- Hang artwork at an average eye level of 57–60 inches for optimal viewing.
- Layer prints with three‑dimensional objects—such as decorative plates or small sculptures—for added depth.
- Swap seasonal prints easily by using removable adhesive hooks, keeping the space fresh year‑round.
Common Mistakes and How to Avoid Them
Even seasoned décor enthusiasts can stumble. Below are frequent errors and practical solutions:
- Oversized prints on small walls: This can make a room feel cramped. Scale down or break the image into multiple panels.
- Poor lighting: Inadequate light dulls colors. Add a picture light or place the print near a window.
- Ignoring frame thickness: Thick frames can dominate delicate spaces. Opt for slim profiles when space is limited.
- Using low‑resolution images: Pixelation ruins a professional look. Always work with files of at least 300 dpi.
- Neglecting wall preparation: Uneven surfaces cause misaligned hanging. Sand and prime walls before mounting.
Frequently Asked Questions
Can I use my home printer for large wall prints?
Yes, if your printer can handle heavyweight paper and the dimensions you need. For prints larger than 24 × 36 inches, a professional print shop is advisable to maintain quality.
What is the best way to hang multiple prints evenly?
Measure the total width of the arrangement, mark the center point on the wall, and then use a laser level or a string line to ensure each frame’s top edge aligns. Start hanging from the center and work outward.
How do I protect handmade prints from humidity?
Seal the print with a clear acrylic spray or laminate it. In high‑humidity areas like bathrooms, choose moisture‑resistant materials such as synthetic canvas.
Is it worth investing in custom frames?
Custom frames guarantee a perfect fit and allow you to match the exact style of your décor. While they’re pricier than ready‑made options, the tailored look often justifies the cost for a polished finish.
Can I incorporate text or quotes into my DIY wall prints?
Absolutely. Typography adds a personal touch. Choose fonts that reflect the room’s style—serif for classic interiors, sans‑serif for modern spaces—and keep the text color harmonious with the surrounding palette.
Conclusion
DIY décor with handmade wall prints transforms ordinary walls into expressive canvases that tell your unique story. By thoughtfully planning, selecting the right materials, and mastering printing and hanging techniques, you can achieve a high‑impact look without breaking the bank. Whether you’re refreshing a living room, adding calm to a bedroom, or giving an entryway a warm welcome, these handcrafted pieces become conversation starters and cherished elements of home life. Explore more ideas across The Homara, experiment with your own designs, and watch your spaces evolve into personalized showcases of style.