
Table of Contents
- Why Tightening Bathing Suit Leg Openings Matters
- Basic Tools and Materials You’ll Need
- Essential Tools for How to Tighten Bathing Suit Leg Openings
- Method 1: Simple Stitching to Reduce the Opening
- Step‑by‑Step Stitching Process
- Method 2: Adding Elastic to Reinforce the Leg Opening
- How to Incorporate Elastic Seamlessly
- Method 3: Using a Temporary Safety Pin Trick
- Safety Pin Adjustment Steps
- Method 4: Using Fabric Glue for a Seamless Finish
- Applying Fabric Glue Correctly
- Method 5: Adjusting the Existing Elastic with a Seam Ripper
- Step‑by‑Step Elastic Replacement
- Quick Tips for Maintaining a Tight Leg Opening
- Common Mistakes to Avoid When Tightening Leg Openings
- Frequently Asked Questions
- Can I use regular sewing thread for my swimwear?
- Is it safe to wash my swimsuit in a washing machine after I’ve tightened the leg opening?
- How often should I re‑tighten my bathing suit leg openings?
- Can I tighten the leg opening of a high‑neck one‑piece without affecting the overall design?
- What if my swimsuit is made of a delicate fabric that tears easily?
- Are there any home décor parallels to tightening a swimsuit?
How to Tighten Bathing Suit Leg Openings for a Perfect Fit
Whether you’re heading to the beach, lounging by the pool, or enjoying a tropical vacation, a well‑fitting bathing suit can make all the difference. One of the most common complaints among swimsuit wearers is a leg opening that’s too loose, which can cause chafing, unwanted exposure, and an overall uncomfortable experience. Knowing how to tighten bathing suit leg openings not only preserves the look of the garment but also extends its lifespan, saving you money in the long run. In this guide we’ll walk you through practical, low‑cost solutions, from simple sewing tricks to clever use of accessories, ensuring your swimwear stays secure and stylish.
Beyond the immediate comfort, a snug leg opening supports the structural integrity of the suit, helping the fabric retain its shape when exposed to water, sun, and sand. The techniques shared here are suitable for all types of swimwear—whether you own a one‑piece, a bikini bottom, or a high‑cut athletic suit. By the end of this article you’ll feel confident adjusting any swimsuit in your drawer, and you’ll have a toolbox of methods to apply whenever the need arises.
Why Tightening Bathing Suit Leg Openings Matters
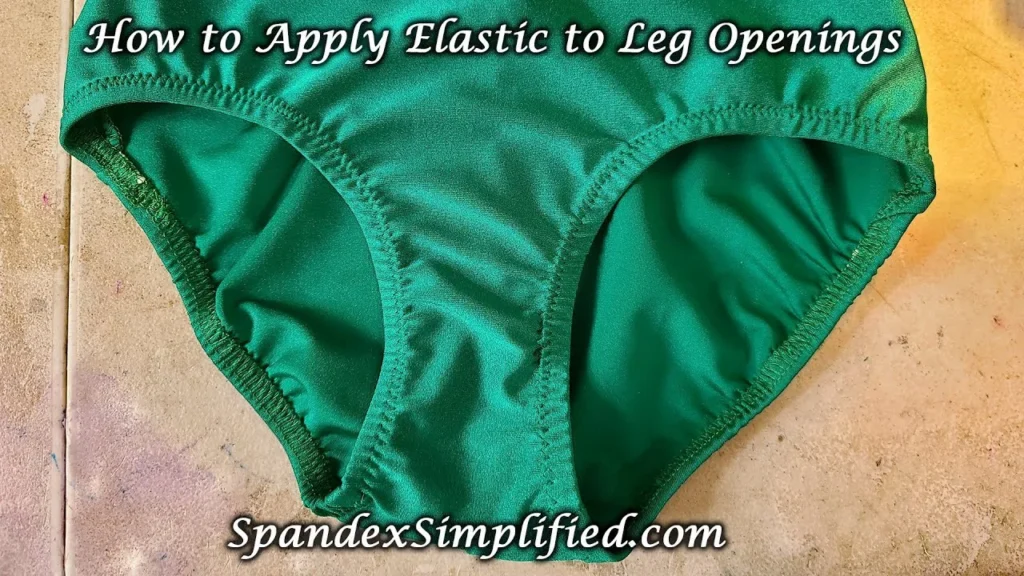
Understanding the why behind how to tighten bathing suit leg openings gives you a solid foundation for choosing the right method. A loose leg opening can lead to:
- Water seepage that drags the fabric down, creating an unflattering silhouette.
- Skin irritation from the fabric rubbing against the thigh, especially when you’re active.
- Reduced support that can affect the overall fit of the suit, making it look saggy.
- Premature wear as excess movement stresses the stitching.
By addressing these issues early, you protect the garment’s aesthetics and functionality. Moreover, learning how to tighten bathing suit leg openings empowers you to customize your swimwear for different body changes over time, such as weight fluctuations or pregnancy.
Basic Tools and Materials You’ll Need

Before you start, gather a few essential items. Most of these are household staples, making the process quick and inexpensive. Having the right tools also ensures a professional finish that won’t damage delicate swimwear fabrics.
Essential Tools for How to Tighten Bathing Suit Leg Openings
- Sewing needle – a sharp, fine‑pointed needle works best for stretch fabrics.
- Thread – polyester or nylon thread matches the elasticity of swimwear.
- Elastic band – ¼‑inch wide, preferably covered elastic for comfort.
- Scissors – small, sharp scissors for precise cuts.
- Measuring tape – to gauge how much you need to tighten.
- Sewing clips or pins – for holding fabric in place without causing holes.
If you lack a sewing kit, many local craft stores sell ready‑made swimwear repair kits that include all these components. These kits are designed specifically for the delicate nature of bathing suit fabrics, ensuring a secure and invisible repair.
Method 1: Simple Stitching to Reduce the Opening
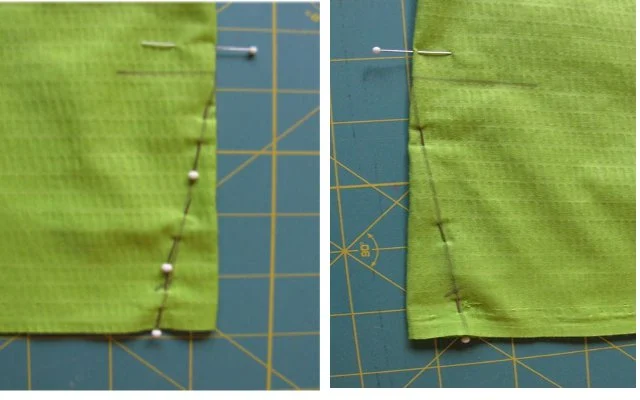
This classic technique is the go‑to method when you want a permanent solution that blends seamlessly with the suit’s design. Here’s a step‑by‑step guide on how to tighten bathing suit leg openings using a few stitches.
Step‑by‑Step Stitching Process
- Turn the swimsuit inside out and lay it flat on a clean surface.
- Measure the desired reduction—typically ¼ to ½ inch around the leg opening.
- Mark the new seam line with a fabric chalk or a small safety pin.
- Fold the excess fabric inward along the marked line and secure it with sewing clips.
- Using a needle and matching thread, sew a small running stitch or a blind stitch along the folded edge. Keep the stitches close (about 2‑3 mm apart) for a strong hold.
- Trim any excess fabric, being careful not to cut into the new seam.
- Turn the suit right side out and test the fit. Adjust if necessary by adding a few more stitches.
This method works well for cotton‑blend swimsuits and those with a bit of stretch. For highly elastic Lycra or spandex, you may want to combine stitching with elastic bands for added flexibility.
Method 2: Adding Elastic to Reinforce the Leg Opening
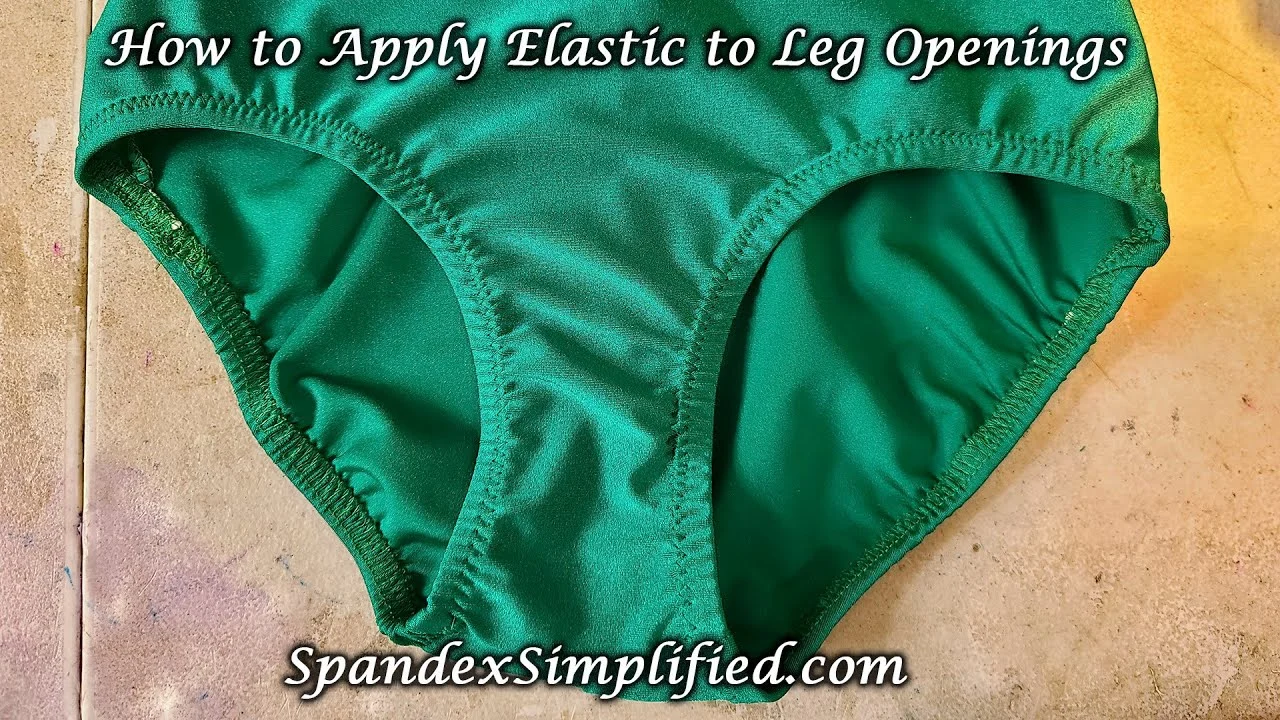
When the fabric is too stretchy to hold a simple stitch, adding a strip of elastic provides a snug, flexible finish. This technique is especially useful for athletic swimwear that sees a lot of movement.
How to Incorporate Elastic Seamlessly
- Cut a piece of covered elastic that matches the circumference of the leg opening minus the desired reduction.
- Fold the edge of the swimsuit fabric inward by ¼ inch and press lightly with an iron (use a cloth barrier to protect the material).
- Place the elastic on top of the folded edge, aligning the ends so they meet in the middle.
- Sew the elastic to the fabric using a stretch stitch on a sewing machine or a hand‑stitched zig‑zag stitch.
- Finish the seam with a serger or a small overlock to prevent fraying.
The elastic band works like a gentle cinch, allowing the leg opening to stay tight without restricting movement. This method also adds a subtle design element—choose a color that either blends in or makes a contrasting statement.
Method 3: Using a Temporary Safety Pin Trick
For a quick, non‑permanent fix—perhaps you’re traveling and don’t have a sewing kit—knowing how to tighten bathing suit leg openings with safety pins can be a lifesaver. This method is best for a single day’s use and should be removed before washing.
Safety Pin Adjustment Steps
- Lay the swimsuit flat and locate the spot where the leg opening feels loose.
- Gather a small amount of fabric (about ¼ inch) and fold it inward.
- Insert a stainless steel safety pin through the folded fabric, closing the loop securely.
- Repeat around the leg opening every 2‑3 inches for even tension.
When you’re ready to wash the suit, simply remove the pins. This temporary method is also handy for trying out different fits before committing to a permanent alteration.
Method 4: Using Fabric Glue for a Seamless Finish
Fabric glue offers a stitch‑free alternative for those who prefer not to sew. While not as durable as stitching, it’s an excellent option for delicate fabrics that may fray with needlework.
Applying Fabric Glue Correctly
- Choose a waterproof, flexible fabric glue designed for swimwear.
- Clean the area around the leg opening with mild soap and let it dry completely.
- Apply a thin line of glue along the inner edge of the leg opening, following the line where you want the new seam.
- Press the excess fabric inward, hold for 30 seconds, and let the glue cure according to the manufacturer’s instructions (usually 24 hours).
Once cured, the glue creates a flexible bond that can handle water exposure. For added security, you can combine glue with a few hand‑stitched stitches.
Method 5: Adjusting the Existing Elastic with a Seam Ripper
Sometimes the original elastic that holds the leg opening has stretched out over time. Knowing how to tighten bathing suit leg openings by replacing or tightening that elastic can restore the original fit.
Step‑by‑Step Elastic Replacement
- Use a seam ripper to carefully remove the old elastic without tearing the surrounding fabric.
- Measure the original elastic length and cut a new piece that’s 1‑2 inches shorter for a tighter fit.
- Thread the new elastic through the existing channel using a safety pin attached to one end as a guide.
- Sew the ends of the elastic together with a lock stitch, ensuring the tension is even.
- Close the channel opening with a few hand stitches or a small machine stitch.
This method revives the suit’s original design and is especially effective for high‑end swimwear that uses premium elastic.
Quick Tips for Maintaining a Tight Leg Opening
- Rinse your swimsuit with cool water after each use to prevent fabric stretching.
- Avoid wringing or twisting the suit; lay it flat to dry.
- Store swimwear in a breathable bag, not a tight drawer, to maintain its shape.
Implementing these simple habits helps you keep the leg opening tight for longer, reducing the need for frequent adjustments.
Common Mistakes to Avoid When Tightening Leg Openings
Even with the best intentions, a few pitfalls can compromise the look and durability of your swimsuit. Here are the most frequent errors and how to prevent them.
- Using the wrong thread – Polyester or nylon thread matches the stretch of swimwear; cotton thread can break under tension.
- Over‑tightening – Reducing the opening too much can restrict movement and cause discomfort.
- Skipping a test fit – Always try the suit on after each adjustment to ensure comfort before finalizing.
- Neglecting the seam finish – A frayed edge can catch on skin; finish with a serger or a small overlock stitch.
By staying mindful of these issues, you’ll achieve a professional‑grade repair that looks and feels great.
Frequently Asked Questions
Can I use regular sewing thread for my swimwear?
Yes, but it’s best to choose polyester or nylon thread because these fibers have the same stretch and durability as most swimwear materials. Regular cotton thread may snap under the stress of water and movement.
Is it safe to wash my swimsuit in a washing machine after I’ve tightened the leg opening?
Absolutely, as long as you use a gentle cycle, cold water, and place the suit in a mesh laundry bag. Avoid bleach and fabric softeners, which can degrade the elasticity and the glue if you used it.
How often should I re‑tighten my bathing suit leg openings?
Most swimwear will retain its fit for a season if cared for properly. However, if you notice the leg opening loosening after several uses, it’s a good idea to reassess and apply a quick fix before the next outing.
Can I tighten the leg opening of a high‑neck one‑piece without affecting the overall design?
Yes. Focus on the side seams near the leg, and use a small amount of elastic or a discreet stitch. This method preserves the aesthetic of the high‑neck cut while improving the fit.
What if my swimsuit is made of a delicate fabric that tears easily?
For delicate fabrics, opt for fabric glue or a very fine, hand‑stitched blind stitch. Avoid pulling the fabric too tightly and always test on a small, hidden area first.
Are there any home décor parallels to tightening a swimsuit?
Just like adjusting a swimwear leg opening, small tweaks in home décor—such as tightening curtains or re‑hemming a rug—can dramatically improve the overall look and functionality of a space. For more ideas, see our guide on how to keep carpet fluffy for a fresh, comfortable home environment.
Similarly, selecting the right color palette for a bathroom can complement your swimwear choices. Check out Cherry vs Espresso: A Modern Home Décor Color Showdown for inspiration on coordinating your swimwear tones with your bathroom tiles.
Finally, if you enjoy a boho vibe, consider adding handmade macrame wall décor to your changing room for a relaxing atmosphere while you get ready for the pool.
By treating your swimwear with the same care you give to your home, you’ll enjoy both comfort and confidence wherever you go.
Now that you’ve learned how to tighten bathing suit leg openings using a variety of methods, you can choose the technique that best fits your skill level, fabric type, and desired permanence. Remember, a snug leg opening not only enhances your appearance but also protects the integrity of the swimsuit, extending its life and keeping you stylish all summer long. Feel free to experiment, and don’t hesitate to revisit these steps whenever your swimwear needs a little extra love.