
Table of Contents
- DIY photo wall decoration ideas
- DIY photo wall decoration ideas: Budget‑Friendly Materials
- Planning Your Layout
- Using Templates and Grids
- Creative Materials and Frames
- Mix‑and‑Match Frames and Repurposed Items
- Photo Wall Themes for Different Rooms
- Theme Examples
- Lighting and Finishing Touches
- LED Strips and Picture Lights
- Quick Tips for DIY Photo Wall Success
- Common Mistakes and How to Avoid Them
- Frequently Asked Questions
Turning a blank wall into a visual story is one of the most rewarding projects you can undertake at home. Whether you’re a seasoned decorator or a first‑time renter, a well‑curated photo wall adds personality, depth, and a sense of belonging to any space. The beauty of a DIY photo wall lies in its flexibility – you can adapt the design to fit a sprawling living room, a cozy bedroom, or even a compact kitchen nook.
In this guide we’ll walk you through the entire process, from conceptualizing a theme to selecting budget‑friendly materials, and finally hanging the pieces with confidence. You’ll learn practical strategies that keep the project affordable, while still achieving a polished, gallery‑ready look. By the end, you’ll have a toolbox of ideas that can be mixed, matched, and personalized to reflect your unique taste.
Ready to transform a plain surface into a striking centerpiece? Let’s explore a variety of DIY photo wall decoration ideas that suit different rooms, budgets, and style preferences.
DIY photo wall decoration ideas
Before you start drilling or taping, take a moment to define the purpose of your photo wall. Are you showcasing family memories, travel adventures, or abstract art prints? Knowing the story you want to tell helps you choose the right layout, frame style, and color palette. For a cohesive look, limit your image selection to a consistent color scheme or thematic element. This not only creates visual harmony but also makes the wall feel intentional rather than haphazard.
Another essential step is measuring the wall space accurately. Use a tape measure, mark the corners with painter’s tape, and envision the final arrangement by laying the frames on the floor first. This “dry run” prevents costly mistakes and ensures that each piece fits comfortably within the designated area.
DIY photo wall decoration ideas: Budget‑Friendly Materials
When working on a DIY project, cost can be a major factor. Fortunately, you don’t need high‑end frames to achieve a sophisticated look. Consider repurposing thrift‑store finds, vintage windows, or reclaimed wood. For a sleek modern vibe, shelf liner vs contact paper can be used as a protective backing for lightweight prints, giving them a matte finish without breaking the bank. Acrylic frames, which are often cheaper than wood, also provide a contemporary edge while keeping the overall aesthetic light.
Another tip is to create custom frames using inexpensive molding strips and a simple nail‑gun. Painting the frames in a neutral tone such as matte black, white, or brushed gold adds a designer feel without the premium price tag. By mixing high‑impact pieces with more affordable options, you can curate a dynamic photo wall that feels both curated and personal.
Planning Your Layout

The layout is the backbone of any successful photo wall. A popular approach is the grid system, where frames are aligned in uniform rows and columns. This method works well for modern interiors and creates a clean, organized look. For a more eclectic vibe, try a salon‑style arrangement that clusters images of varying sizes in a loosely structured composition. Whichever style you choose, start by laying out paper templates cut to the exact size of each frame. Tape these templates to the wall to experiment with spacing and balance before committing to nails.
Using a neutral gallery wall inspiration guide can help you visualize how different configurations affect the room’s flow. Remember to keep a consistent gap—usually 2–3 inches—between frames for a harmonious appearance.
Using Templates and Grids
Paper templates are a game‑changer for DIY photo wall decoration ideas. Cut each template to match the outer dimensions of your frames, then arrange them on the floor or against the wall. Step back frequently to assess the overall balance and make adjustments. If you prefer a grid, use a level and a laser line to ensure perfect alignment. For asymmetrical designs, focus on a central anchor piece and let surrounding photos radiate outward, creating visual interest while maintaining cohesion.
Creative Materials and Frames
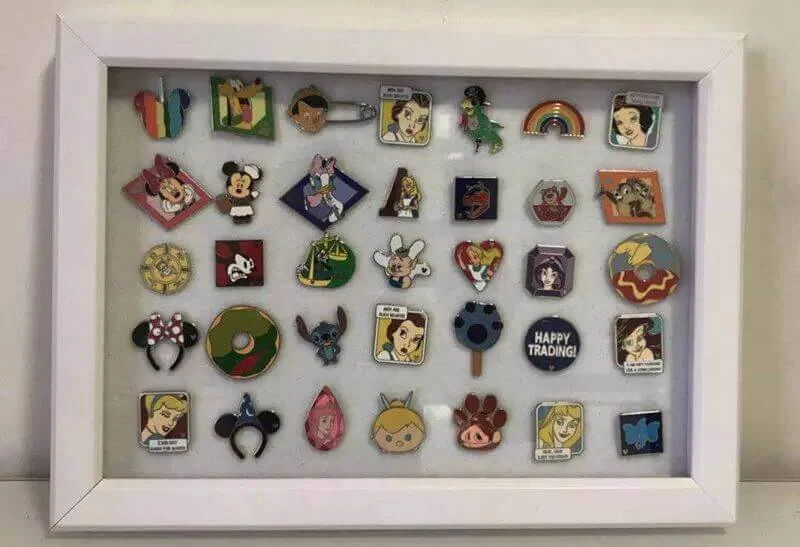
Beyond traditional frames, think about incorporating alternative materials that add texture and depth. Wooden pallets, metal mesh, or woven baskets can serve as unconventional mounting surfaces. For a minimalist touch, mount photos directly onto a painted canvas board using double‑sided tape or removable adhesive strips. This method eliminates the bulk of frames and gives the wall a sleek, floating appearance.
Mixing frame finishes—such as matte black, brushed gold, and natural wood—can create a curated, layered look. If you’re concerned about mismatched styles, paint all frames in a uniform color to unify the display. The key is to let the photos shine while the surrounding elements support the overall aesthetic.
Mix‑and‑Match Frames and Repurposed Items
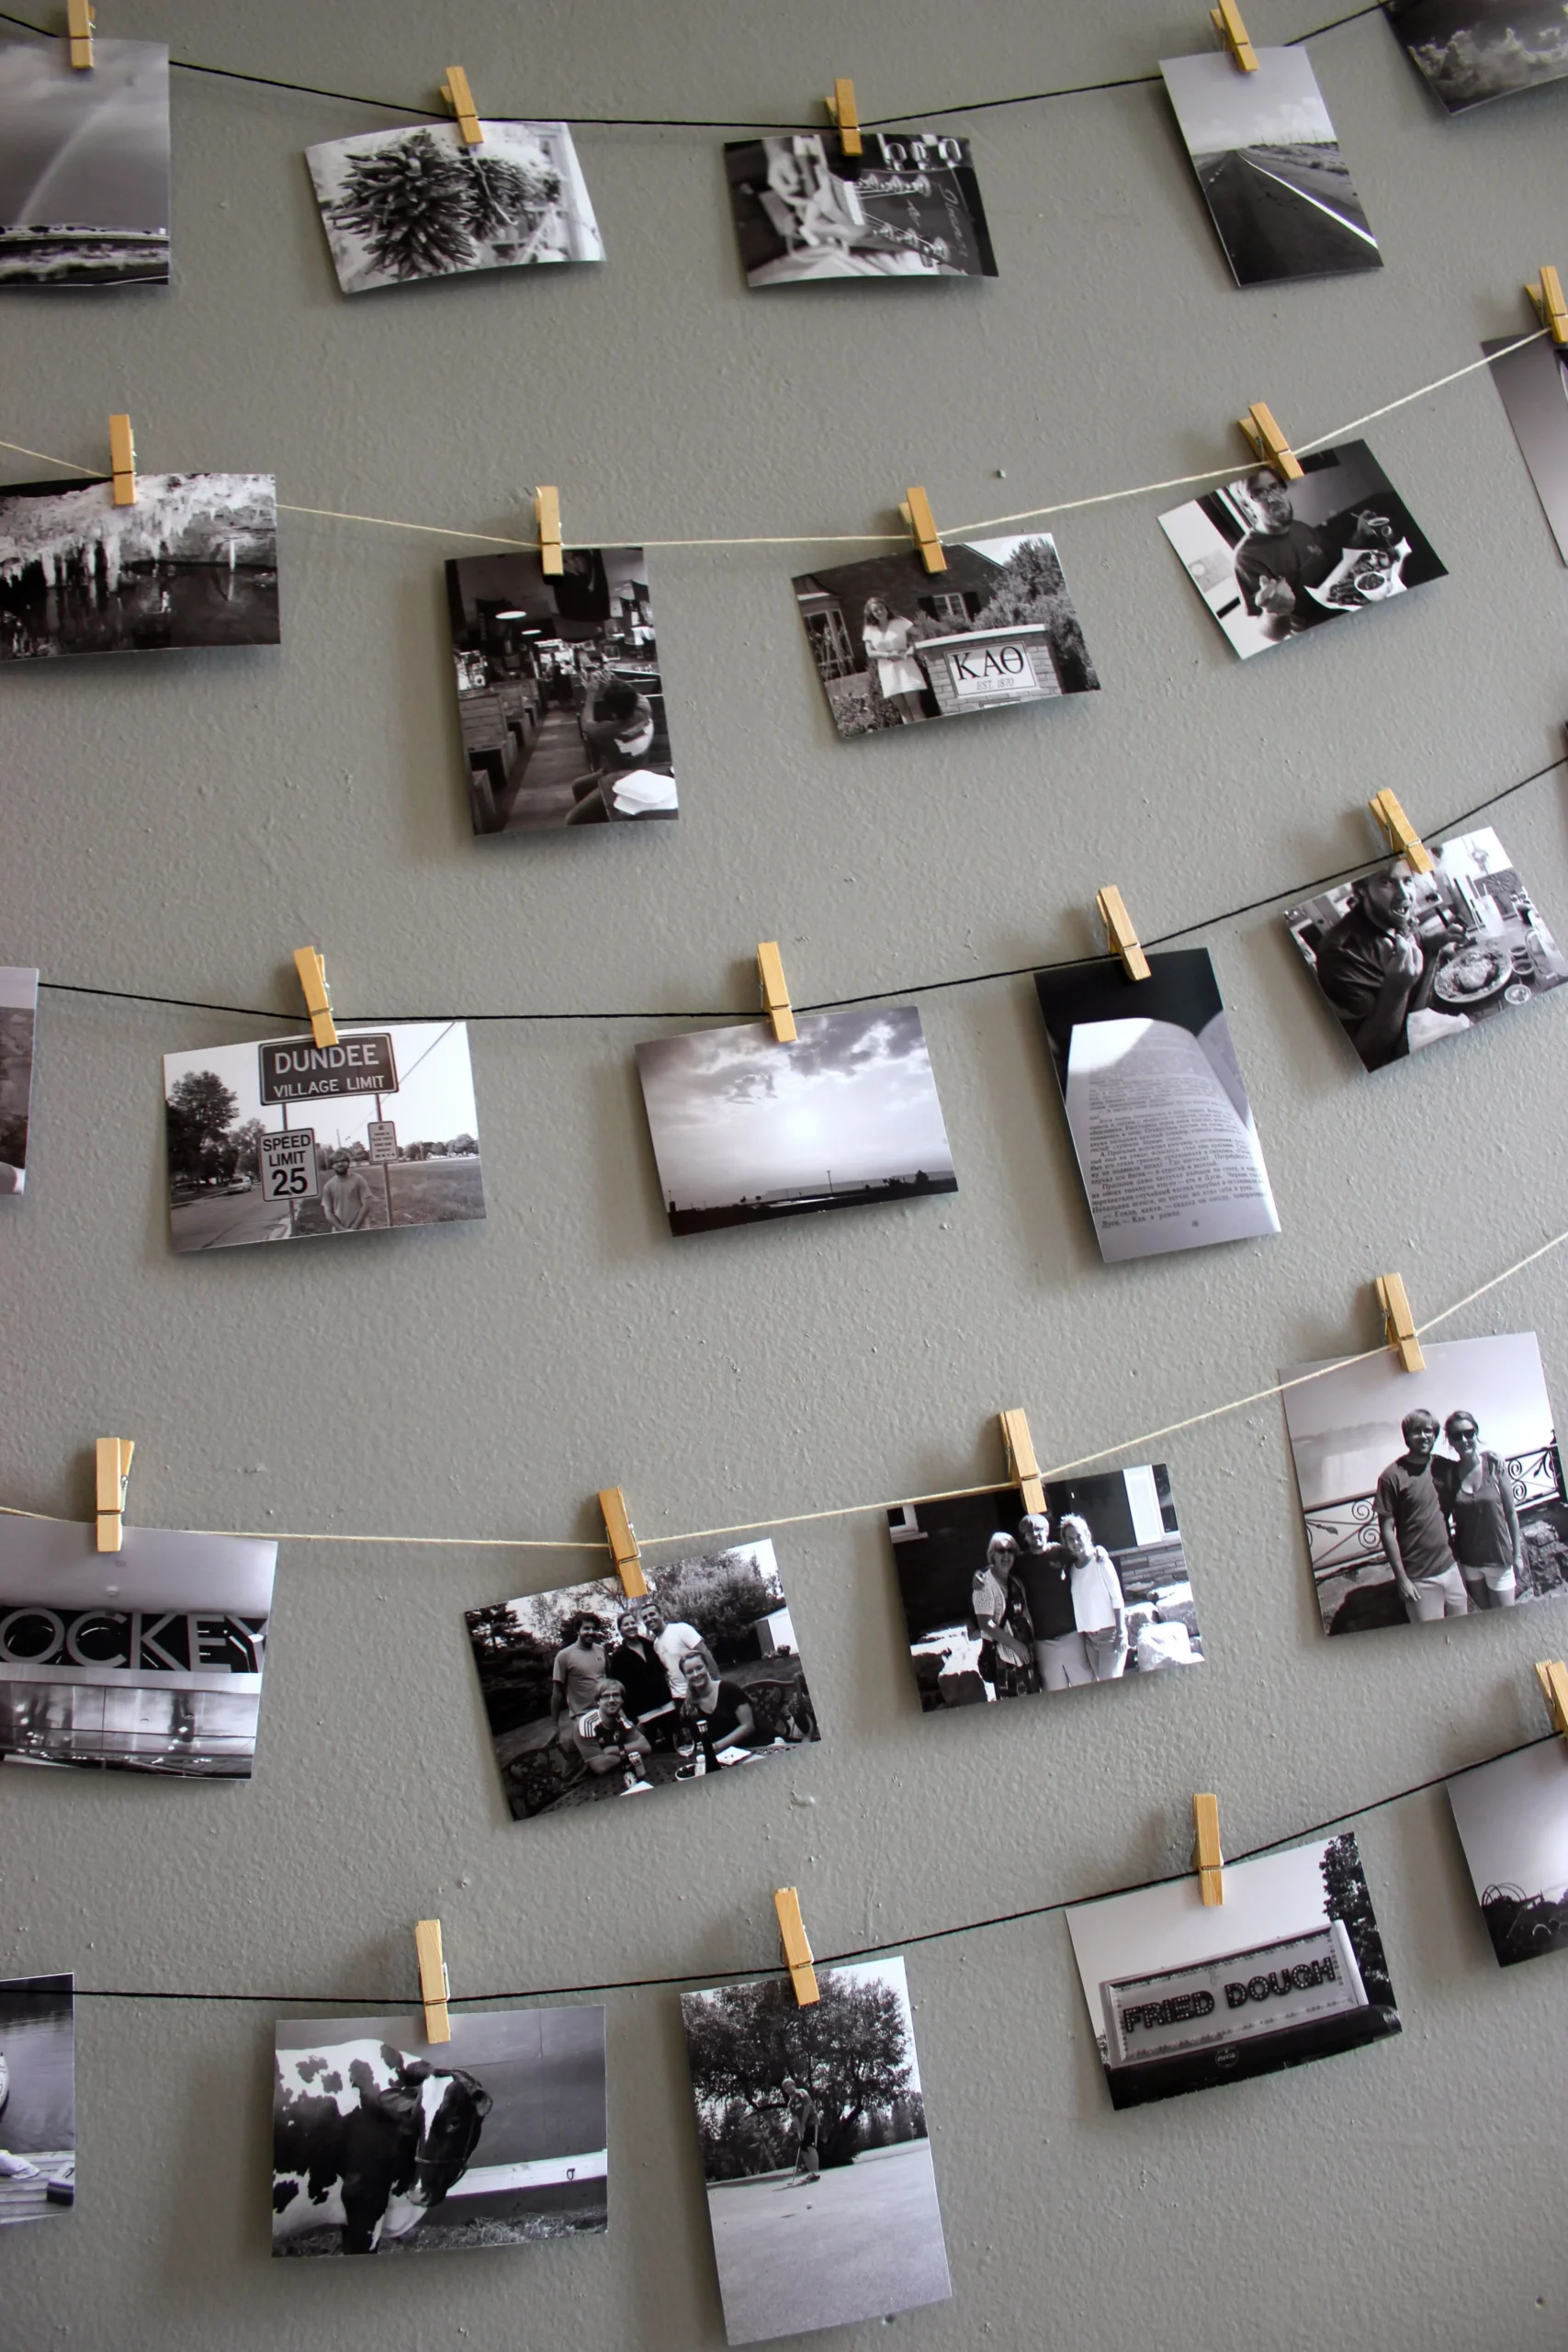
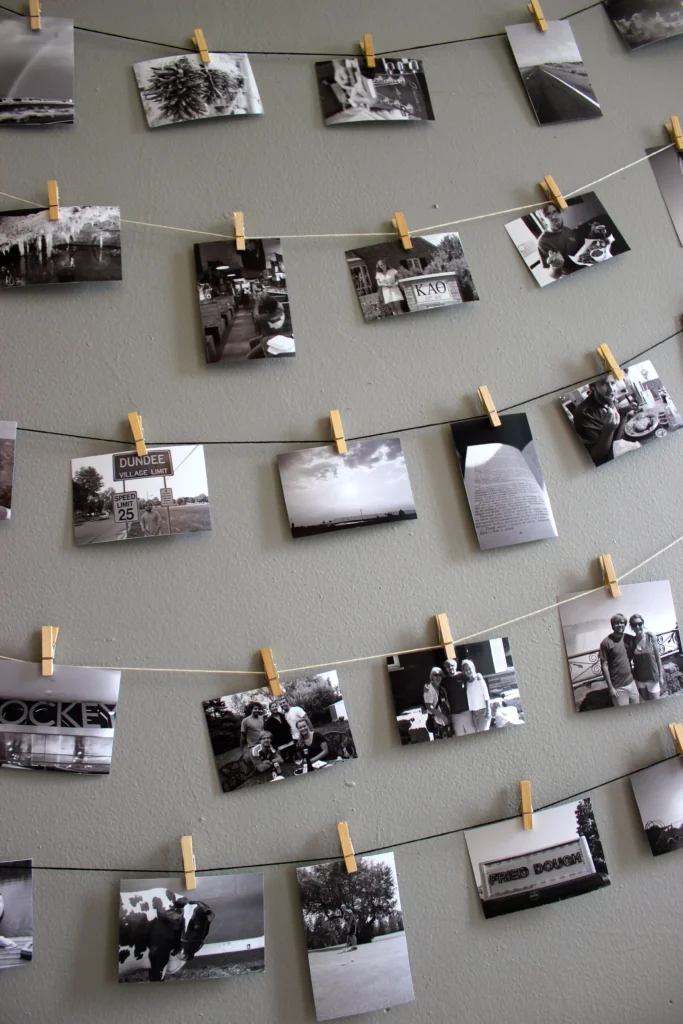
One of the most rewarding aspects of DIY photo wall decoration ideas is the freedom to experiment with repurposed objects. Old window panes, vintage shutters, or even a collection of postcards can become unique display elements. Attach small clips or binder rings to a reclaimed wooden board to create a rotating gallery that’s easy to update as your collection grows.
Photo Wall Themes for Different Rooms
Each room in your home offers a distinct backdrop for a photo wall, and tailoring the theme to the space can enhance its functionality and visual impact.
- Living Room: A large, statement piece—such as a panoramic landscape—paired with smaller black‑and‑white portraits creates a focal point that draws conversation.
- Bedroom: Soft, pastel‑tinted frames and intimate family moments foster a calm, personal sanctuary.
- Kitchen: Incorporate cozy kitchen corner décor ideas by using food‑related imagery, vintage recipes, or herb‑illustration prints that complement the culinary vibe.
- Small Spaces: Use vertical arrangements to emphasize height. For balconies or narrow hallways, check out simple balcony seating décor ideas for small spaces and adapt the same principle for a compact photo wall.
When selecting images, consider the room’s color scheme. In a neutral living room, a burst of color from the photos can act as an accent. Conversely, in a brightly painted bedroom, opt for monochrome or muted tones to avoid visual overload.
Theme Examples
Popular themes include travel maps with pins, chronological family timelines, or a collection of botanical prints. Choose a theme that resonates with your lifestyle, and let the arrangement reflect that narrative. A travel wall, for instance, can be organized by continent, with each frame labeled in a subtle, elegant typeface.
Lighting and Finishing Touches
Proper lighting elevates any DIY photo wall decoration ideas from ordinary to extraordinary. Ambient lighting can be enhanced with LED strip lights installed behind the frames, creating a soft halo effect. For focused illumination, picture lights mounted on the ceiling or wall-mounted fixtures add drama and draw attention to key pieces.
Consider dimmable options that allow you to adjust the mood based on the time of day. If your wall is positioned near a window, use sheer curtains to diffuse natural light, reducing glare on glossy prints. Finally, add subtle decorative accents—like a small shelf holding a decorative object or a string of fairy lights—to tie the whole composition together.
LED Strips and Picture Lights
LED strips are energy‑efficient and easy to install. Attach them along the top edge of the frame or behind a floating board for an illuminated border. Picture lights, especially those with adjustable arms, let you highlight individual photos without cluttering the wall with visible wiring.
Quick Tips for DIY Photo Wall Success
- Start with a focal piece that anchors the entire arrangement.
- Use painter’s tape to mark the exact height before drilling.
- Keep a consistent gap between frames for visual harmony.
- Choose frames that complement, not compete with, your artwork.
- Test lighting at different times of day to ensure optimal visibility.
Common Mistakes and How to Avoid Them
- Skipping the template step: This often leads to uneven spacing and misaligned frames.
- Overcrowding the wall: Too many pieces can feel chaotic; embrace negative space.
- Ignoring the room’s scale: Large frames in a tiny room overwhelm the space, while tiny frames on a vast wall look lost.
- Using mismatched hanging hardware: Ensure all hooks and nails are level and securely anchored.
- Neglecting lighting: Poor illumination can diminish the impact of your photos.
Frequently Asked Questions
Can I hang a photo wall without drilling?
Yes. For renters or temporary setups, use removable adhesive strips, command hooks, or a tension rod system that holds frames without damaging walls.
What is the best height for a photo wall?
A common rule is to place the center of the arrangement at eye level, typically 57–60 inches from the floor. Adjust based on ceiling height and furniture placement.
How do I choose the right frame style?
Match the frame material and finish to the room’s existing décor. Modern spaces favor sleek metal or acrylic, while traditional interiors benefit from wood or ornate finishes.
Should I use uniform frame sizes?
Uniform sizes create a clean grid, but mixing sizes adds visual interest. If you opt for mixed sizes, anchor the layout with a larger central piece to maintain balance.
How can I protect photos from fading?
Use UV‑filtering glass or acrylic for frames, and avoid direct sunlight. Rotating the display periodically also helps preserve image quality.
Creating a personalized photo wall is an enjoyable, hands‑on way to showcase your memories while adding a distinct design element to any room. By planning thoughtfully, selecting budget‑friendly materials, and paying attention to lighting and layout, you can achieve a polished result that feels both custom‑made and professionally styled. Dive into your next DIY photo wall decoration ideas project with confidence, and let your walls tell the story of your life.