
Table of Contents
- Planning Your Simple DIY Frame Wall Décor Layout
- Assess the Space and Define Your Goal
- Select a Style Theme
- Create a Mock‑up
- Choosing the Right Frames and Materials
- Materials That Fit Every Budget
- Finish and Color Considerations
- Size and Orientation
- Preparing and Assembling Your Frames
- Cleaning and Painting
- Adding Protective Backing
- Inserting the Artwork
- Hanging Techniques for a Flawless Finish
- Tools You’ll Need
- Step‑by‑Step Hanging Process
- Tips for a Cohesive Look
- Creative Ideas to Personalize Your Frame Wall
- Mixed Media Collage
- Themed Collections
- Seasonal Swaps
- Incorporating Mirrors
- Quick Tips for a Successful Frame Wall
- Common Mistakes and How to Avoid Them
- Overcrowding the Wall
- Inconsistent Spacing
- Neglecting Weight Limits
- Choosing Clashing Frames
- Frequently Asked Questions
Simple DIY Frame Wall Décor: Transform Your Space with Easy, Affordable Style
Whether you’re renting a studio apartment or decorating a sprawling family home, the walls are the canvas that ties a room together. A well‑planned frame wall can showcase art, memories, or even a curated collection of objects, instantly adding personality without a hefty price tag. The appeal of simple DIY frame wall décor lies in its flexibility: you control the layout, the frames, and the story you want to tell. In this guide, we walk you through the entire process—from choosing materials to hanging the final piece—so you can create a gallery‑like feature that feels both polished and uniquely yours.
Beyond aesthetics, a thoughtfully arranged frame wall serves practical purposes. It can unify disparate décor elements, create visual balance, and even make a room feel larger by drawing the eye along a continuous line. For renters, it’s a reversible design solution that won’t damage the surface, while homeowners can use it as a foundation for evolving style trends. By the end of this article, you’ll have a clear roadmap to design, build, and install simple DIY frame wall décor that elevates any space.
Ready to turn blank walls into a personal gallery? Let’s explore the essential steps, creative ideas, and pro‑level tips that make this project both enjoyable and rewarding.
Planning Your Simple DIY Frame Wall Décor Layout
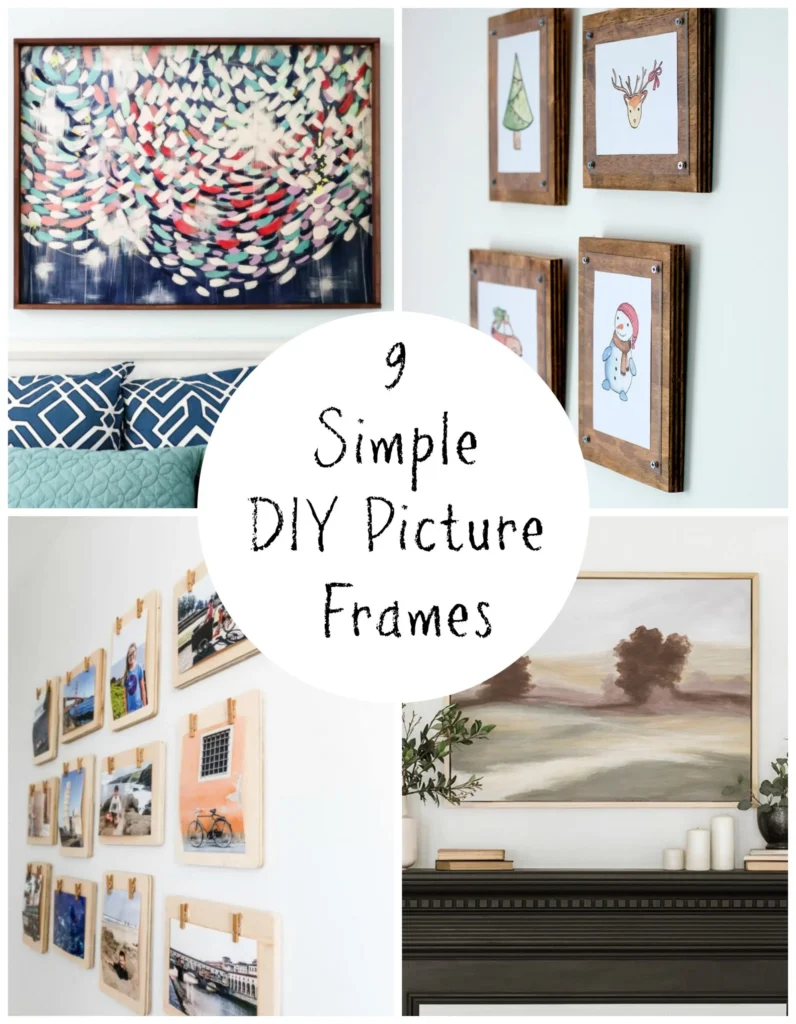
Before you buy frames or start hammering nails, a solid plan is crucial. A well‑thought-out layout saves time, reduces waste, and ensures the final display feels intentional rather than haphazard.
Assess the Space and Define Your Goal
- Measure the wall. Use a tape measure to note the width and height. This will guide how many frames you can comfortably fit.
- Identify the room’s purpose. In a living room, you might aim for a conversation starter; in a bedroom, a calming collage of personal photos works best.
- Choose a focal point. A central piece—perhaps a large artwork or a statement mirror—can anchor the entire arrangement.
Select a Style Theme
From minimalist monochrome to eclectic boho, decide on a visual theme that complements your existing décor. Consistent color palettes, frame finishes, or subject matter (e.g., travel photos, botanical prints) create cohesion. For inspiration, check out our article on simple sofa styling ideas to see how color coordination works across different furniture pieces.
Create a Mock‑up
Lay your frames on the floor or use paper cut‑outs taped to the wall to visualize spacing. Aim for a balanced arrangement: keep equal gaps (typically 2–4 cm) between frames, and consider aligning the tops or bottoms of certain groups for visual order. Digital tools like Canva or even a simple spreadsheet can help you map measurements precisely.
Choosing the Right Frames and Materials
The frame itself is a silent storyteller. Its material, finish, and size all influence the overall mood of your simple DIY frame wall décor.
Materials That Fit Every Budget
- Wooden frames. Classic, warm, and easy to paint. Pine or MDF are cost‑effective options for DIY projects.
- Metal frames. Offer a sleek, modern feel. Aluminum or brushed steel works well in industrial or contemporary settings.
- Reclaimed or thrifted frames. Hunt at flea markets or online resale sites for unique shapes and patinas that add character.
Finish and Color Considerations
Neutral tones like black, white, or natural wood blend seamlessly with most interiors. For a bold statement, try matte gold or deep navy. If you’re uncertain, start with a few neutral frames and introduce a splash of color through the artwork or photographs inside.
Size and Orientation
Mixing orientations (portrait vs. landscape) creates visual intrigue. A common rule: combine larger anchor pieces (12×18 in or bigger) with smaller 5×7 in frames. This hierarchy guides the eye and prevents the wall from looking cluttered.
Preparing and Assembling Your Frames
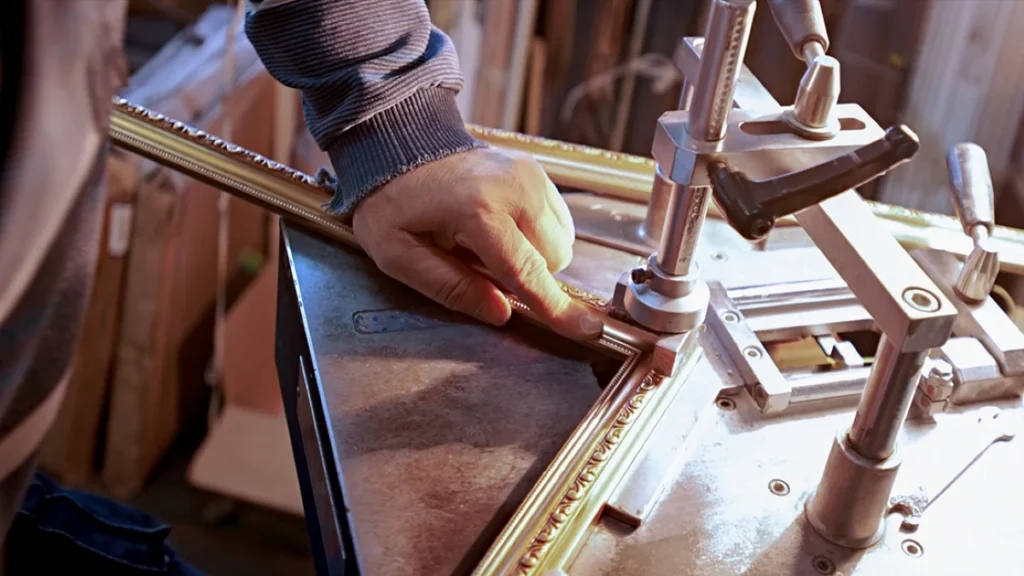
Now that you have your frames, it’s time to ready them for hanging. This step ensures durability and a polished finish for your simple DIY frame wall décor.
Cleaning and Painting
Wipe each frame with a damp cloth to remove dust. If you’re repainting, lightly sand the surface, apply a primer, then a coat of your chosen paint. Allow adequate drying time—usually 2–4 hours for each coat.
Adding Protective Backing
Use acid‑free backing board to protect artwork from warping. Secure it with small staples or double‑sided tape. For a professional touch, add a thin layer of foam board to keep the frame lightweight yet sturdy.
Inserting the Artwork
Place your chosen prints, photos, or fabric panels inside. Use museum‑grade corners or clear acrylic clips for a sleek look without visible hardware. Ensure each piece is centered and sits flat against the backing.
Hanging Techniques for a Flawless Finish
The way you mount your frames can make or break the overall impact of your simple DIY frame wall décor. Follow these proven techniques for a secure and visually appealing result.
Tools You’ll Need
- Measuring tape
- Level
- Pencil for marking
- Picture hanging hooks (e.g., D‑hooks, Z‑hooks)
- Stud finder (optional for heavy frames)
- Wall anchors for drywall
Step‑by‑Step Hanging Process
- Mark the center point. Use a pencil to indicate where the central piece will sit.
- Measure and level each frame. From the center point, measure outward for each surrounding frame, keeping consistent spacing.
- Install hooks or anchors. For lightweight frames, adhesive hooks work; for heavier pieces, use wall anchors drilled into studs.
- Hang and adjust. Place the frames on the hooks, then step back and use a level to ensure they’re straight. Make minor tweaks as needed.
Tips for a Cohesive Look
Maintain a uniform gap (2–3 cm) between frames. If you’re using multiple rows, align the tops of the top row and the bottoms of the bottom row for a tidy rectangle effect. For a more relaxed vibe, stagger heights but keep a visual rhythm.
Creative Ideas to Personalize Your Frame Wall
Simple DIY frame wall décor isn’t limited to photos; you can infuse a range of textures and themes to reflect your personality.
Mixed Media Collage
Combine artwork, fabric swatches, and small 3‑D objects like pressed leaves or vintage postcards. This layered approach adds depth and invites viewers to explore each element.
Themed Collections
Showcase a series of travel postcards, botanical prints, or family milestones. Grouping items by theme tells a story and creates visual continuity.
Seasonal Swaps
Use removable hooks or a rail system so you can easily exchange pieces for holidays or seasonal décor. This flexibility keeps the space fresh year-round without re‑doing the entire wall.
Incorporating Mirrors
A strategically placed mirror expands the room’s perceived size. Pair it with framed art to balance reflective and visual interest.
Quick Tips for a Successful Frame Wall
- Start with a single large anchor piece; it simplifies the layout.
- Use painter’s tape to outline the arrangement on the wall before drilling.
- Choose frames with similar depth to avoid uneven protrusion.
- Consider lighting: add picture lights or wall sconces to highlight key pieces.
Common Mistakes and How to Avoid Them
Even seasoned DIYers can stumble. Recognizing common pitfalls helps you sidestep costly errors.
Overcrowding the Wall
Resist the urge to fill every inch. Negative space acts as a visual breather, making each frame stand out. Aim for a balanced ratio of art to empty wall.
Inconsistent Spacing
Uneven gaps make the arrangement look sloppy. Use a ruler or a spacer (such as a small piece of wood) to keep gaps uniform.
Neglecting Weight Limits
Heavy frames need proper anchoring. Always check the weight rating of hooks and use studs or appropriate wall anchors for larger pieces.
Choosing Clashing Frames
Mixing too many styles can create visual chaos. Stick to a cohesive theme—either uniform frames or a deliberate contrast with clear rationale.
Frequently Asked Questions
Can I hang a frame wall on rented property without damaging the walls?
Yes. Use removable adhesive hooks, picture rail systems, or command strips designed for picture frames. For heavier pieces, consider a freestanding leaning display that sits on the floor.
How far apart should frames be spaced?
A common guideline is 2–4 cm (¾–1½ in) between frames. Adjust based on the size of the wall and the visual weight of the frames.
What type of lighting works best for a frame wall?
Accent lighting such as LED picture lights, wall washers, or directional track lighting enhances colors and textures while minimizing glare.
Is it okay to mix frame colors?
Mixing colors can be effective if there’s an overarching unifying element, such as a consistent mat color or a repeating shape. Otherwise, stick to a limited palette for harmony.
How can I make a frame wall look larger in a small room?
Use a vertical arrangement to draw the eye upward, and incorporate slim, elongated frames. Light-colored frames and a neutral backdrop also help create an airy feel.
Creating simple DIY frame wall décor is a rewarding blend of planning, creativity, and hands‑on craftsmanship. By following these steps—selecting the right frames, mapping a thoughtful layout, and hanging with precision—you’ll transform ordinary walls into a vibrant showcase of your style.
Feel inspired to start your own project? Explore more ideas in our guide on home décor with soft natural lighting and discover how lighting can complement your new frame wall. For those interested in a cohesive bedroom look, check out Bedroom Décor with Woven Baskets for storage-friendly styling tips.
Now, pick up that hammer, arrange those frames, and watch your space come alive with personality and charm. Happy decorating!