
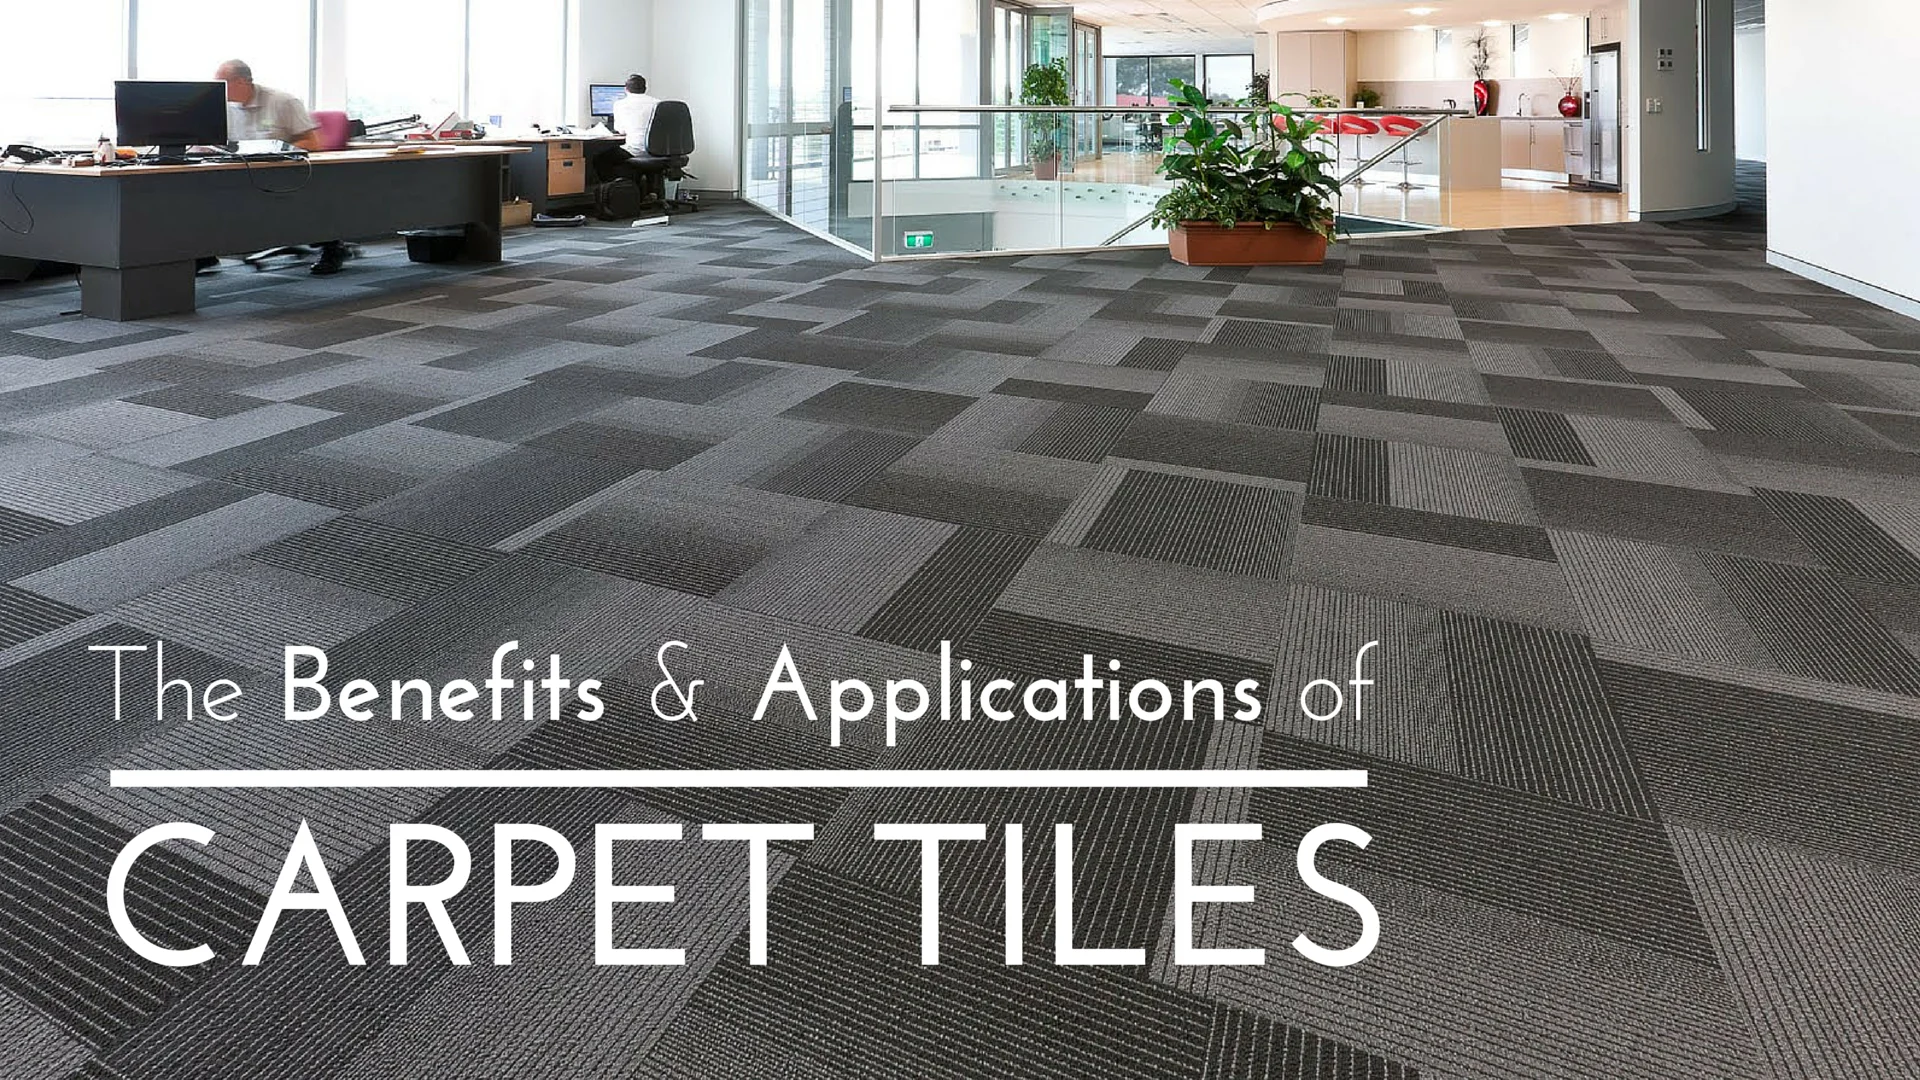
Table of Contents
- Why Choose Carpet Tiles Over Existing Carpet?
- Benefits of Installing Carpet Tiles Over Carpet
- Assessing Your Existing Carpet and Space
- Key Evaluation Steps
- Selecting the Right Carpet Tiles and Materials
- Factors to Consider When Choosing Carpet Tiles
- Preparing the Surface for Installation
- Step‑by‑Step Preparation Guide
- Installation Process: Laying the Carpet Tiles
- Step‑by‑Step Installation Guide
- Finishing Touches and Maintenance Tips
- Polishing and Styling Ideas
- Quick Tips for a Flawless Installation
- Common Mistakes and How to Avoid Them
- Typical Errors
- Frequently Asked Questions
- Design Inspiration: Pairing Carpet Tiles with Your Home Décor
How to Install Carpet Tiles Over Carpet – A Complete DIY Guide
Transforming a room doesn’t always require ripping out the existing floor. For many homeowners and renters, the idea of installing new flooring can feel daunting, especially when a soft carpet already covers the space. Fortunately, there’s a practical solution that blends convenience with style: carpet tiles. By learning how to install carpet tiles over carpet, you can refresh a room’s look, improve durability, and even add a layer of insulation without the mess of demolition.
In this guide, we’ll walk you through every stage of the process—from evaluating your current carpet to selecting the right tiles, preparing the surface, and finishing with a professional‑looking layout. Whether you’re updating a home office, a bedroom, or a small apartment living area, the steps outlined here will help you achieve a polished result that aligns with modern home décor ideas.
Before you start, it’s useful to understand why carpet tiles are a smart choice for a layered flooring approach. They’re modular, easy to replace individually, and come in a plethora of colors, textures, and patterns that can instantly elevate interior design. Plus, when installed over an existing carpet, they act as a protective barrier, extending the life of both layers while offering a softer underfoot feel compared to hard surfaces.
Why Choose Carpet Tiles Over Existing Carpet?

Choosing to install carpet tiles over carpet offers several practical benefits that resonate with both design enthusiasts and budget‑conscious homeowners.
Benefits of Installing Carpet Tiles Over Carpet
- Minimal Disruption: No need to pull up the original carpet, which saves time, labor, and disposal costs.
- Enhanced Comfort: The extra layer provides added cushioning, making the floor softer for standing or sitting.
- Design Flexibility: Mix and match colors or patterns to create a custom look that matches your interior design style.
- Easy Maintenance: Individual tiles can be swapped out if stained or damaged, extending the overall lifespan of the floor.
When you understand how to install carpet tiles over carpet, you’ll see that this method is especially valuable for renters who want a reversible upgrade, or for homeowners seeking a quick refresh before a larger renovation.
Assessing Your Existing Carpet and Space

The success of any flooring project begins with a thorough assessment. Before you begin how to install carpet tiles over carpet, examine the condition of the underlying carpet and the room’s dimensions.
Key Evaluation Steps
- Check for Damage: Look for tears, stains, or uneven wear. Severely damaged carpet may need to be repaired or replaced before layering tiles.
- Measure the Area: Record length and width to calculate the total square footage. Add 5‑10% extra for cutting and waste.
- Determine Traffic Levels: High‑traffic zones may benefit from thicker, more durable tiles.
- Inspect Subfloor Stability: Ensure the existing carpet is firmly attached to the subfloor; loose sections can cause uneven tile placement.
Having accurate measurements and a clear understanding of the carpet’s condition will help you select the appropriate tile thickness and adhesive system, ensuring a smooth installation process.
Selecting the Right Carpet Tiles and Materials
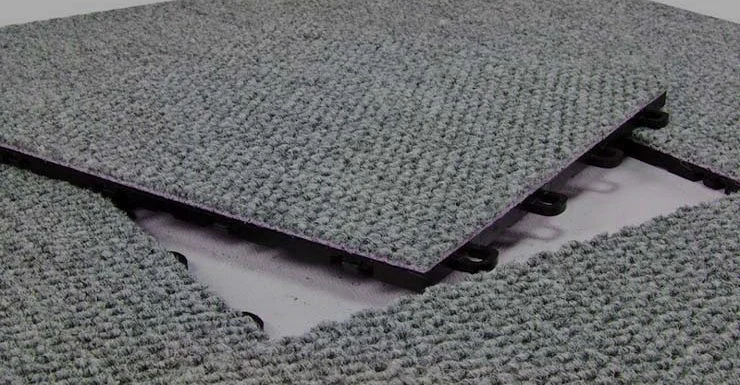
Now that you know how to install carpet tiles over carpet in theory, let’s dive into the specifics of choosing the perfect tiles and supporting materials.
Factors to Consider When Choosing Carpet Tiles
- Thickness: Opt for tiles that are at least 6 mm thick when installing over carpet. Thicker tiles provide better stability and reduce the chance of the underlying carpet shifting.
- Backing Type: Look for tiles with a low‑profile, non‑adhesive backing (often called “click‑lock” or “interlocking”) for easier installation over carpet.
- Material: Nylon and polypropylene are popular for their durability and stain resistance. For a softer feel, consider plush or frieze styles.
- Design: Choose patterns that complement your existing décor. Geometric designs work well in modern interiors, while muted neutrals suit a minimalist aesthetic.
In addition to the tiles themselves, you’ll need a high‑quality underlayment or bonding tape designed for carpet‑over‑carpet installations. This layer helps secure the tiles and prevents movement over time.
Preparing the Surface for Installation
Preparation is the cornerstone of any successful flooring project. Follow these steps to ready the room for how to install carpet tiles over carpet and ensure a long‑lasting finish.
Step‑by‑Step Preparation Guide
- Clear the Area: Remove furniture, rugs, and any obstacles. Use a broom or vacuum to clean the existing carpet thoroughly.
- Repair Minor Imperfections: Glue down loose carpet edges and patch small tears with carpet adhesive.
- Lay Down a Vapor Barrier (Optional): In damp climates, a thin vapor barrier can protect both carpet layers from moisture.
- Apply Underlayment Tape: Roll out double‑sided carpet‑tile tape across the entire surface, overlapping edges by at least 2 inches. Press firmly to ensure adhesion.
- Mark Layout Guidelines: Use a chalk line to create reference lines that run perpendicular to each other, establishing a grid for straight tile placement.
Taking the time to prepare the surface correctly will make the subsequent installation of carpet tiles smoother and reduce the likelihood of tiles shifting after a few weeks of use.
Installation Process: Laying the Carpet Tiles
With the room prepped, you’re ready to start the core task: installing the carpet tiles over carpet. Below is a detailed walk‑through of the process, designed to be easy to follow even for first‑time DIYers.
Step‑by‑Step Installation Guide
- Start at the Center: Begin placing tiles at the intersection of your chalk lines. This ensures a balanced layout and symmetrical borders.
- Interlock Tiles: If using click‑lock tiles, press each piece firmly until you hear a click. For adhesive‑backed tiles, press down for at least 30 seconds to secure the bond.
- Cut Tiles as Needed: Use a sharp utility knife and a straight edge to trim tiles for edges and corners. Always cut slightly larger and trim down for a perfect fit.
- Maintain Consistent Alignment: Check the alignment every few rows with a straightedge or a laser level to avoid drifting.
- Roll the Floor: After laying a section, roll a 100‑lb floor roller over the tiles to ensure they adhere evenly to the tape.
- Seal the Perimeter: Apply a thin strip of carpet‑tile tape around the room’s edges to keep the border tiles from lifting.
Throughout the installation, keep an eye on how the tiles sit over the underlying carpet. If you notice any unevenness, gently lift the tile, adjust the tape underneath, and replace it.
Finishing Touches and Maintenance Tips
Once you’ve mastered how to install carpet tiles over carpet, the final steps involve polishing the look and establishing a maintenance routine that keeps your new floor looking fresh.
Polishing and Styling Ideas
- Transition Strips: Install metal or rubber transition strips at doorways to create a seamless look between different flooring types.
- Area Rugs: Use low‑pile rugs to accentuate the tile pattern while protecting high‑traffic zones.
- Lighting: Add floor lamps or wall sconces to highlight the texture of the carpet tiles, especially in living rooms and bedrooms.
For routine care, vacuum the tiled surface weekly using a brush‑roll attachment. Spot‑clean spills promptly with a mild carpet cleaner to avoid staining. Because the tiles sit over an existing carpet, you’ll also want to vacuum the underlying carpet periodically to maintain overall air quality.
Quick Tips for a Flawless Installation
- Test a single tile on a small area first to ensure the tape adheres well to both carpet layers.
- Keep a spare roll of tile on hand for unexpected cuts or miscalculations.
- Work in small sections to prevent the adhesive tape from losing its tackiness.
- Use a professional‑grade floor roller for a uniform bond across the entire surface.
Common Mistakes and How to Avoid Them
Even experienced DIYers can stumble during how to install carpet tiles over carpet. Being aware of common pitfalls will save you time and frustration.
Typical Errors
- Skipping Surface Preparation: Neglecting to clean or repair the original carpet can lead to uneven tile placement.
- Using Incompatible Tiles: Thin or low‑quality tiles may not sit properly over carpet, causing movement.
- Improper Cutting: Rushing tile cuts often results in jagged edges that disrupt the visual flow.
- Insufficient Overlap of Tape: Not overlapping the underlayment tape enough can create weak spots where tiles separate.
By planning ahead and following the step‑by‑step guidance above, you’ll avoid these mistakes and achieve a durable, attractive floor.
Frequently Asked Questions
Can I install carpet tiles over any type of carpet?
Yes, but it works best with low‑pile, flat‑weave carpets that are firmly attached to the subfloor. Thick, plush carpets may create too much give, affecting tile stability.
Do I need an adhesive when using interlocking carpet tiles?
Interlocking tiles are designed to lock together without additional glue, but applying double‑sided tape underneath adds extra security, especially over carpet.
How long will the carpet tiles last over carpet?
With proper installation and regular maintenance, carpet tiles can last 5‑10 years. The underlying carpet’s condition also influences overall longevity.
Is this method suitable for high‑traffic areas?
For very high‑traffic zones, consider a higher‑density tile (8‑10 mm) and a robust underlayment. Adding a protective runner can also extend the life of the tiles.
Can I remove the carpet tiles later without damaging the original carpet?
Yes. Most interlocking tiles can be lifted without residue. Even adhesive‑backed tiles can be removed with a heat gun or adhesive remover, though you may need to clean any leftover adhesive.
Design Inspiration: Pairing Carpet Tiles with Your Home Décor
Integrating carpet tiles into your interior design can be both functional and stylish. For a cohesive look, coordinate tile colors with existing furnishings. If you’re aiming for a modern vibe, choose monochrome or muted tones and pair them with sleek metal accents.
For example, a living room with a neutral sofa can benefit from a subtle geometric carpet‑tile pattern that adds texture without overwhelming the space. In a bedroom, a soft, warm‑colored tile can create a cozy underfoot experience that complements a minimalist bedding palette.
Need more inspiration? Check out our guide on Apartment Living Room Design Inspiration: Stylish Small‑Space Ideas for practical layout ideas that work beautifully with carpet‑tile flooring.
Looking to add a rustic touch? Pair earthy tile shades with reclaimed wood furniture, as detailed in How to Decorate a Rustic Home: A Complete Guide. For a calming, professional environment, explore Workspace décor with calm neutral colors – A Professional Guide for neutral palettes that enhance focus and comfort.
By thoughtfully selecting carpet tiles and integrating them with your overall décor, you’ll achieve a space that feels both fresh and personalized.
Now that you’ve learned how to install carpet tiles over carpet and explored design possibilities, you’re ready to embark on a project that upgrades your floor without the mess of demolition. Take the first step today, gather your materials, and enjoy the satisfaction of a DIY makeover that adds comfort, style, and value to your home.