Table of Contents
- how to hang drywall on 10 foot walls a step by step guide – Overview
- how to hang drywall on 10 foot walls a step by step guide – Tools and Materials
- Preparing the Wall Surface
- Measuring and Cutting Drywall for Tall Walls
- Installing the First Sheet
- Securing Drywall to Ceiling and Upper Studs
- Taping, Mudding, and Finishing
- Painting and Decorating the Finished Wall
- Quick Tips for Drywall Success
- Common Mistakes to Avoid
- Frequently Asked Questions
How to Hang Drywall on 10 Foot Walls a Step by Step Guide
Drywall is the backbone of modern interior walls, providing a smooth canvas for paint, wallpaper, or decorative finishes. When a ceiling reaches the lofty height of 10 feet, the installation process gains an extra layer of complexity that can intimidate even seasoned DIYers. Understanding the nuances of hanging drywall on tall walls not only saves time but also prevents costly errors that could compromise the structural integrity of your project.
In this comprehensive guide we’ll walk you through every stage of the process—from preparing the studs to achieving a seamless finish that looks professionally done. Whether you’re renovating a master bedroom, updating a living room, or tackling a new construction, the principles covered here apply across the board. By the end of the guide, you’ll feel confident enough to tackle a 10‑foot wall with the same assurance you have on standard 8‑foot ceilings.
We’ll also sprinkle in practical design insights, such as choosing the right trim (see our wood trim vs white trim comparison) and coordinating wall finishes with the latest bedroom color trends (bedroom color trends). Let’s get started.
how to hang drywall on 10 foot walls a step by step guide – Overview
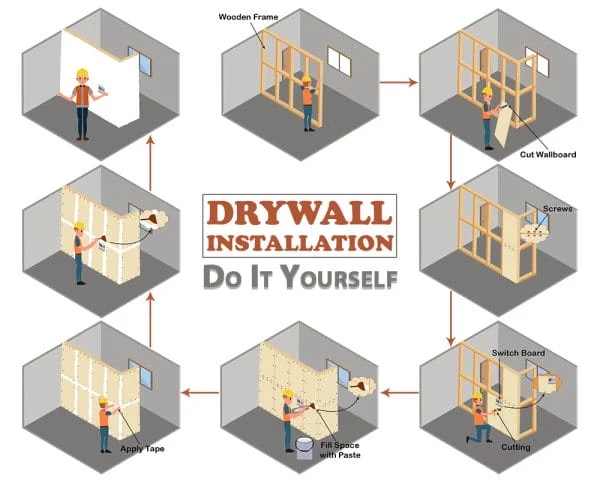
The first step in any successful drywall project is to understand the scope of work specific to tall walls. A 10‑foot wall demands longer sheets, more support, and careful handling to avoid sagging or uneven seams. This overview lays out the major phases: planning, cutting, installing, fastening, finishing, and final decorating. By breaking the job into manageable chunks, you’ll keep the workspace organized and maintain momentum throughout the project.
how to hang drywall on 10 foot walls a step by step guide – Tools and Materials
Gathering the right tools before you begin is essential. Here’s a checklist of items you’ll need:
- 5/8‑inch or 1/2‑inch drywall sheets (choose 5/8 for added rigidity on tall walls)
- Drywall lift or a sturdy helper for ceiling work
- Utility knife, T‑square, and drywall rasp
- Drywall screw gun or drill with a 1‑1/4‑inch drywall bit
- Drywall screws (1‑1/4 in for 1/2‑in sheets, 1‑5/8 in for 5/8‑in sheets)
- Drywall tape, joint compound, and a 6‑in finishing knife
- Stud finder, level, chalk line, and measuring tape
- Safety gear: goggles, dust mask, ear protection
Having these items on hand prevents interruptions and ensures each phase proceeds smoothly.
Preparing the Wall Surface
Before you even lift a sheet, the underlying framework must be ready. Use a stud finder to locate vertical studs and mark their centers on the floor, ceiling, and walls. For a 10‑foot wall, confirm that the top plate is level; any deviation will be amplified across the height of the wall.
Next, remove any existing insulation, wiring, or fixtures that could interfere with drywall placement. If you discover damaged studs, replace or reinforce them now; fixing structural issues later is far more labor‑intensive. Apply a thin layer of construction adhesive to the studs where you plan to attach the first sheet—this reduces the risk of nail pops and adds extra holding power.
Measuring and Cutting Drywall for Tall Walls
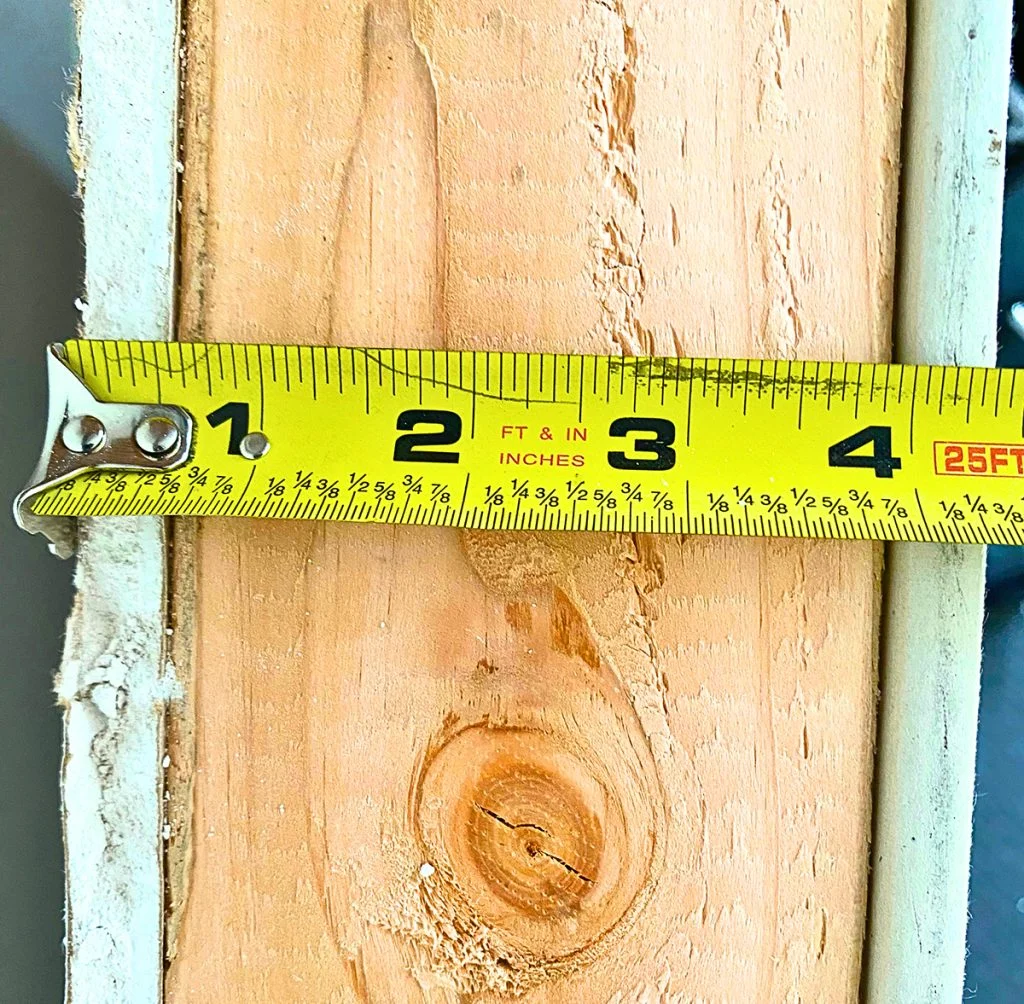
Precision in measurement is the foundation of a clean installation. Measure the height from floor to ceiling at several points to account for any floor or ceiling variations. When cutting drywall for a 10‑foot wall, it is often easier to work with 12‑foot sheets and trim them down to the exact height, rather than trying to lift a full‑length sheet into a tight space.
Lay the sheet on a flat surface, score the front side with a utility knife along a straight line marked with a T‑square, then snap the board and cut the back paper. Use a drywall rasp to smooth the cut edge, ensuring it will sit flush against the studs. For windows and doors, cut openings using a drywall saw, maintaining a 1/2‑inch clearance around the frame for trim installation later.
Installing the First Sheet
The first sheet sets the tone for the entire wall. Start at one corner and position the sheet so that its edge lands on the center of a stud. For a 10‑foot wall, you’ll likely need a drywall lift to raise the sheet to the ceiling line. Align the top edge with the ceiling, making sure the sheet is perfectly plumb.
Secure the sheet with drywall screws placed every 12 inches along each stud. Drive the screws just below the surface, leaving a slight dimple for later mudding. Keep the screw heads slightly recessed but not tearing the paper. After the first sheet is in place, use a level to confirm it is straight; any misalignment will become evident as you add subsequent sheets.
Securing Drywall to Ceiling and Upper Studs
When hanging drywall on a tall wall, the ceiling becomes a critical support point. If the ceiling joists are spaced 24 inches apart, consider using longer screws (1‑5/8 in) to reach the joists securely. Apply a second row of screws midway between the studs for added stability, especially in high‑traffic areas where wall movement is common.
For the uppermost studs, use a drywall lift or a partner to hold the sheet while you fasten it. This prevents sagging, which is a common issue on 10‑foot walls. Remember to stagger the vertical seams; this “staggered joint” technique adds strength and reduces the chance of cracks forming over time.
Taping, Mudding, and Finishing
With all sheets installed, the finishing phase transforms the rough drywall into a seamless surface. Apply drywall tape over each joint, pressing it firmly into the first coat of joint compound. Use a 6‑inch knife to smooth the tape, then apply a second, wider coat to feather the edges.
For a 10‑foot wall, you may need three coats of compound to achieve a perfectly smooth finish. Allow each coat to dry completely (usually 24 hours) before sanding with a fine‑grit sanding screen. After sanding, wipe away dust with a damp cloth and inspect the surface for any low spots or imperfections. A final skim coat will give you a professional‑grade wall ready for paint.
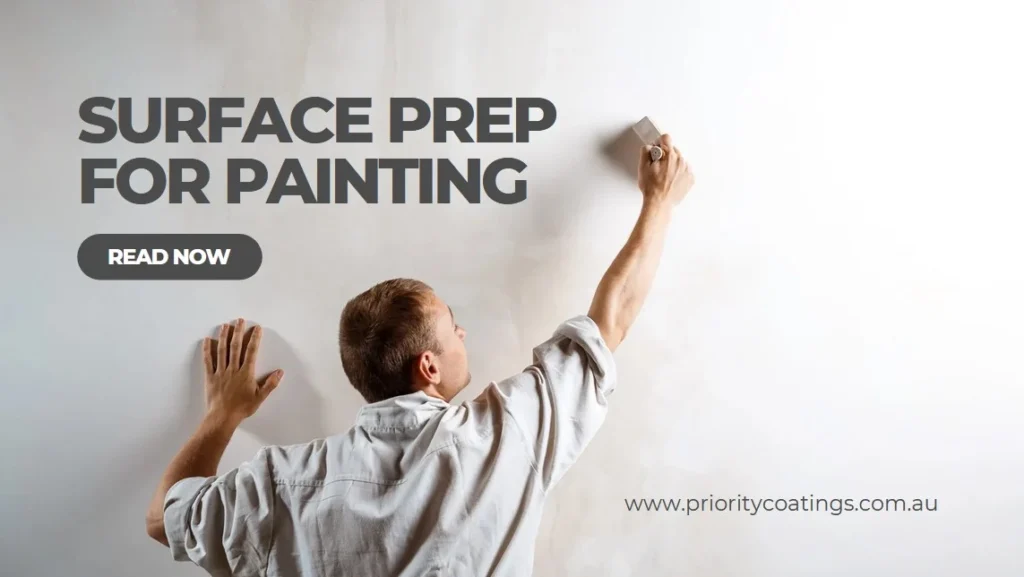
Painting and Decorating the Finished Wall
The final aesthetic step is to apply paint or other decorative finishes. Because tall walls can make a room feel more spacious, choose a color palette that complements the ceiling height. Light, reflective colors can accentuate the vertical space, while darker hues create a cozy ambiance.
If you plan to install crown molding or other trim, refer to our wood trim vs white trim guide to decide which style best enhances the height of your walls. For a cohesive look, match the trim color to the paint’s undertone or opt for contrasting hues for a modern twist.
Once the paint is dry, you can add wall décor such as woven art, large mirrors, or shelving that draws the eye upward, reinforcing the sense of height.
Quick Tips for Drywall Success
- Use a drywall lift for ceiling sheets to avoid fatigue and ensure straight placement.
- Stagger seams on each row to increase wall strength and reduce cracking.
- Pre‑drill holes for electrical boxes before hanging drywall to keep the surface smooth.
- Apply a thin bead of construction adhesive on studs for extra screw hold.
- Maintain a consistent screw depth; overtightening will damage the paper.
Common Mistakes to Avoid
Even experienced DIYers can fall into pitfalls when working on tall walls. One frequent error is under‑sizing the drywall sheets; 5/8‑inch sheets are recommended for 10‑foot walls because they resist sagging better than 1/2‑inch sheets. Another mistake is neglecting to level the top plate; a slight bow can cause a ripple effect that shows up as uneven seams.
Skipping the second or third coat of joint compound is another common shortcut that results in visible joints after painting. Lastly, failing to properly sand between coats can leave a rough texture that catches dust and reduces the overall finish quality.
Frequently Asked Questions
What is the best screw spacing for drywall on tall walls?
For 10‑foot walls, place screws every 12 inches along each stud, and add a mid‑stud row for added support. This spacing prevents sagging and distributes weight evenly.
Can I use 1/2‑inch drywall on a 10‑foot wall?
While possible, 5/8‑inch drywall is preferred because it offers greater rigidity and reduces the likelihood of bowing or cracking over time.
Do I need a drywall lift for a DIY project?
A lift is highly recommended for ceiling work on tall walls. It minimizes strain and helps keep the sheet level while you secure it.
How many coats of joint compound are necessary?
Typically three coats: a taping coat, a finishing coat, and a final skim coat. This ensures a smooth, paint‑ready surface.
What safety gear should I wear?
Always wear safety goggles, a dust mask, and ear protection. Drywall dust can irritate eyes and lungs, and power tools generate significant noise.
For a deeper dive into material thickness considerations, read our guide on how thick is thinset under tile. Understanding these details helps you make informed choices for the entire room renovation.
When planning a complete bedroom makeover after installing drywall, check out the latest bedroom color trends to select hues that harmonize with your new wall surfaces.
Ready to start your project? Gather your tools, follow the step‑by‑step process, and enjoy the satisfaction of a flawless, high‑quality wall that elevates the entire space.
[HOME DECOR IDEAS]: Home Decor Ideas