
Table of Contents
- Choosing the Right Wood for DIY wooden frame wall décor
- DIY wooden frame wall décor: Wood Types and Finishes
- Planning Your Layout and Measuring Accurately
- DIY wooden frame wall décor Layout Tips
- Cutting, Assembling, and Finishing the Frames
- DIY wooden frame wall décor: Step‑by‑Step Assembly
- Adding Personal Touches: Paint, Stain, and Distressing Techniques
- DIY wooden frame wall décor Color Ideas
- Hanging Strategies for Different Rooms
- DIY wooden frame wall décor in Living Rooms
- Budget‑Friendly Ideas and Upcycling Materials
- DIY wooden frame wall décor on a Shoestring
- Quick DIY wooden frame wall décor Tips
- Common Mistakes to Avoid
- Frequently Asked Questions
- How do I choose the right size of frame for a specific wall?
- Can I use reclaimed wood for indoor décor?
- What tools are essential for a beginner?
- How do I prevent frames from warping over time?
- Is it safe to hang frames on plaster walls?
- Conclusion
DIY wooden frame wall décor: A Complete Guide for Modern Home Styling
Empty walls can feel like missed opportunities in any home. Whether you’re a renter looking for a temporary splash of personality or a homeowner eager to showcase cherished memories, DIY wooden frame wall décor offers a versatile and rewarding solution. Crafting your own frames not only saves money but also lets you tailor the look to match your existing palette, textures, and layout preferences.
In this guide we’ll walk through everything you need to know—from selecting the perfect wood and planning a balanced arrangement to finishing techniques that add depth and character. By the end, you’ll have a clear roadmap for creating a gallery‑style wall that feels curated, personal, and unmistakably yours.
Choosing the Right Wood for DIY wooden frame wall décor
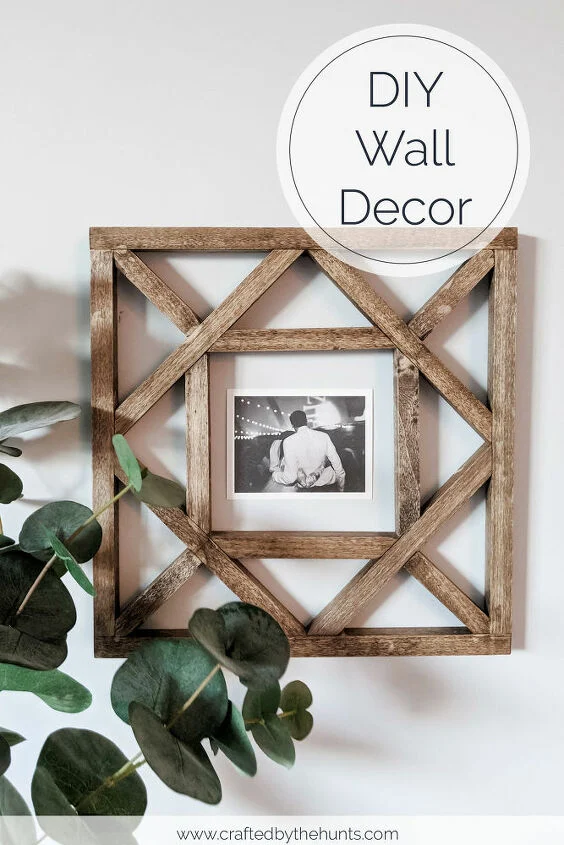
The foundation of any successful frame project begins with the material itself. Different wood species bring distinct grain patterns, durability, and cost considerations. Softwoods like pine are budget‑friendly and easy to work with, making them ideal for beginners. Hardwood options such as oak, walnut, or maple provide richer texture and longevity, though they may require sharper tools and more effort to cut.
When planning DIY wooden frame wall décor, think about the room’s overall style. A rustic farmhouse vibe pairs well with reclaimed barn wood, while sleek modern interiors benefit from smooth, painted birch or maple. If you’re unsure, purchase small sample strips of each wood and hold them against your wall to see which grain complements your existing décor best.
DIY wooden frame wall décor: Wood Types and Finishes
- Pine: Light color, readily available, perfect for staining or painting.
- Oak: Prominent grain, takes well to clear coats, ideal for a natural look.
- Walnut: Dark, luxurious tone; works beautifully with matte finishes.
- Reclaimed wood: Adds history and texture; may need additional sanding.
Finishing choices—stain, paint, or clear sealant—further influence the final aesthetic. A matte black paint can turn a simple pine frame into a bold statement piece, while a natural oil finish highlights grain details for a more understated charm.
Planning Your Layout and Measuring Accurately
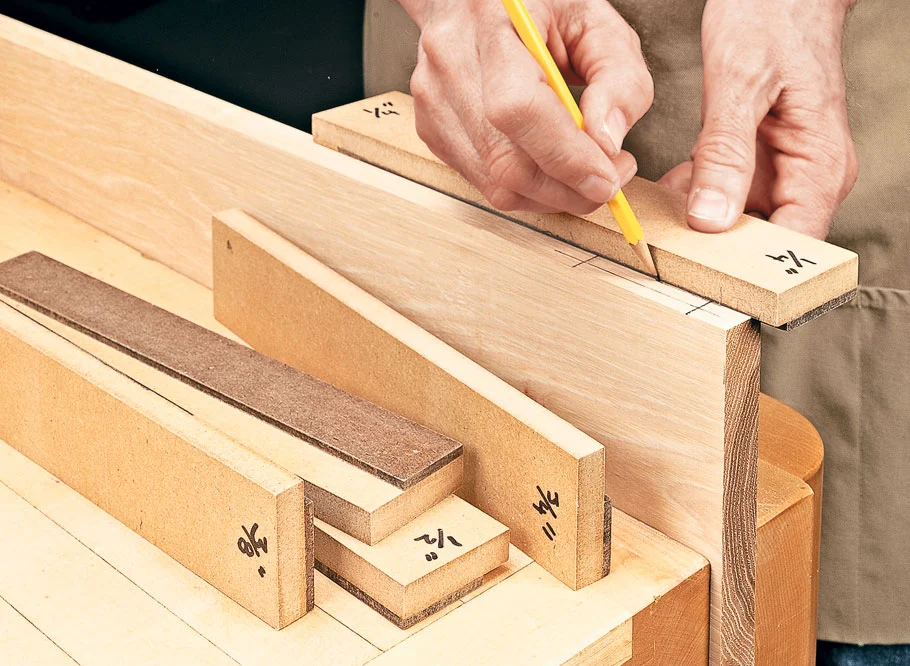
Before you fire up the saw, take time to map out your wall. A well‑thought‑out layout prevents awkward gaps and ensures visual harmony. Begin by measuring the total wall space and deciding on the overall shape: a symmetrical grid, a linear row, or a more organic collage.
Use painter’s tape to sketch the outline of each frame directly on the wall. This visual mock‑up helps you gauge spacing—typically 2–3 inches between frames for a cohesive look. If you’re working with an eclectic mix of sizes, aim for a “centerline” that runs horizontally or vertically, anchoring the composition.
DIY wooden frame wall décor Layout Tips
- Start with the largest piece and build outward.
- Maintain a consistent gap; a ruler or laser level can keep measurements precise.
- Consider eye level; the center of the arrangement should sit roughly 57–60 inches from the floor.
- Use a digital mock‑up tool or simple paper templates to experiment before cutting.
For inspiration on arranging multiple pieces, see our Hallway Gallery Frame Arrangement: A Complete Design Guide, which offers practical layout strategies that translate well to any room.
Cutting, Assembling, and Finishing the Frames

With your design pinned down, it’s time to bring the frames to life. Safety first: always wear eye protection and secure your workpiece with clamps. Measure twice, cut once—this adage holds especially true for DIY wooden frame wall décor where precise miter cuts create clean corners.
If you lack a miter saw, a hand‑saw with a miter box can achieve accurate 45‑degree angles. After cutting, test-fit the pieces before applying any glue. Use a high‑quality wood glue on the joints, and consider reinforcing with small brad nails for added strength. Wipe away excess glue promptly with a damp cloth to avoid unsightly stains.
DIY wooden frame wall décor: Step‑by‑Step Assembly
- Cut the rails: Four pieces—two vertical (stiles) and two horizontal (rails).
- Dry‑fit the frame: Assemble without glue to check alignment.
- Apply glue: Spread thinly on each joint, clamp, and let cure for 30 minutes.
- Reinforce: Insert a few brad nails or small screws at each corner.
- Sand: Lightly sand the exterior to smooth any rough edges.
- Finish: Paint, stain, or seal according to your design plan.
Once the frames are finished, you can insert artwork, photographs, or even fabric panels for a textural twist. A simple acrylic backing board provides a sturdy base for lighter pieces.
Adding Personal Touches: Paint, Stain, and Distressing Techniques
Finishing is where your personality truly shines. While a single coat of paint can create a crisp, uniform look, experimenting with layered stains or distressed finishes adds depth. For a modern vibe, try a two‑tone approach: paint the outer edge a bold hue and leave the inner edge natural or lightly stained.
Distressing can be achieved with sandpaper, a wire brush, or even a chain‑link tool. Lightly rub the surface to reveal underlying grain or previous paint layers, giving the frame a lived‑in feel. If you prefer a softer touch, consider a matte chalk paint that absorbs light and reduces glare.
DIY wooden frame wall décor Color Ideas
- Monochrome: All‑white frames for a clean, gallery‑style gallery.
- Contrast: Black frames against light walls for dramatic emphasis.
- Earthy: Natural wood stain paired with warm, earthy tones.
- Accent: Paint frames in a bold accent color that matches a room’s décor (e.g., teal in a coastal bedroom).
Don’t forget to protect your work. A final clear polyurethane coat ensures durability, especially in high‑traffic areas like hallways or living rooms.
Hanging Strategies for Different Rooms
Each space presents unique challenges and opportunities for DIY wooden frame wall décor. In a living room, large frames can anchor a sofa arrangement, while a series of smaller frames can create a dynamic backdrop above a mantel. In a bedroom, consider a symmetrical set of frames on either side of the headboard for balance.
When it comes to installation, locate studs for heavy frames or use high‑quality wall anchors for lighter pieces. A picture‑hanging system with adjustable hooks allows you to fine‑tune placement without damaging the wall.
DIY wooden frame wall décor in Living Rooms
A living room often serves as the social hub, making it an ideal canvas for a statement wall. Combine three to five frames of varying sizes in a horizontal line, centering the arrangement at eye level. Pair the frames with a complementary rug or throw pillows that echo the frame colors for cohesive styling.
For hallway inspiration, check out Hallway Décor with Neutral Wall Art – Timeless Styling Tips, which demonstrates how neutral frames can elongate a narrow passage.
Budget‑Friendly Ideas and Upcycling Materials
You don’t need to splurge on premium lumber to achieve a polished look. Reclaimed pallets, thrift‑store picture rails, or even old window frames can be transformed into stunning DIY wooden frame wall décor. Sand down any rough spots, cut to size, and apply your chosen finish.
Another cost‑saving strategy is to batch‑produce frames. Cutting multiple pieces at once reduces setup time and maximizes material usage. When you have leftover wood, consider creating small decorative elements like shelf brackets or decorative knobs that add continuity throughout the space.
DIY wooden frame wall décor on a Shoestring
- Source free wood from local construction sites (ask for scrap).
- Use a simple hand saw and a miter box to keep tool costs low.
- Paint with inexpensive interior latex paint; a single coat often suffices.
- Repurpose old frames by stripping paint and refinishing.
Even a modest budget can produce a high‑impact wall when creativity guides material choices.
Quick DIY wooden frame wall décor Tips
- Pre‑drill holes for nails or screws to avoid splitting the wood.
- Use painter’s tape to mask off areas when applying multiple paint colors.
- Apply a thin coat of wood filler to hide small gaps before finishing.
- Hang frames at a consistent height using a laser level for a professional look.
- Rotate artwork seasonally to keep the wall fresh without new construction.
Common Mistakes to Avoid
Even seasoned DIYers can stumble. One frequent error is neglecting proper measuring; an uneven gap can make the entire arrangement look sloppy. Another pitfall is over‑sanding, which removes the wood’s natural character and can lead to an overly smooth surface that doesn’t hold finish well.
Don’t ignore the weight of your frames. Hanging heavy pieces without studs can cause wall damage. Lastly, avoid using low‑quality glue; a weak bond will compromise the frame’s integrity over time, especially in humid environments.
Frequently Asked Questions
How do I choose the right size of frame for a specific wall?
Measure the wall’s width and height, then decide on a proportion—typically, the frame arrangement should occupy 60‑70% of the wall’s width. For a single large piece, aim for a size that leaves at least 12‑18 inches of breathing space on each side.
Can I use reclaimed wood for indoor décor?
Yes, reclaimed wood adds character and sustainability. Ensure the wood is clean, free of nails, and sanded smooth before finishing. A clear sealant will protect against dust and minor scratches.
What tools are essential for a beginner?
A miter box with a handsaw, a drill with a set of small drill bits, clamps, a measuring tape, and a level are the core tools. As you advance, a powered miter saw and a sanding block can speed up the process.
How do I prevent frames from warping over time?
Choose kiln‑dried wood, seal all exposed surfaces, and avoid placing frames in direct sunlight or near heating vents. Maintaining a stable indoor humidity level also helps preserve wood stability.
Is it safe to hang frames on plaster walls?
Yes, but you’ll need appropriate anchors. For light frames, plastic anchors work well; for heavier pieces, toggle bolts or molly bolts provide the necessary support.
Conclusion
Creating DIY wooden frame wall décor is an accessible and rewarding way to personalize any space. By selecting the right wood, planning a thoughtful layout, mastering basic joinery, and applying finishing touches that reflect your style, you can transform bare walls into curated galleries. Whether you’re updating a living room, adding charm to a bedroom, or brightening a hallway, the principles outlined here will guide you toward a professional‑looking result without breaking the bank.
Now that you’ve got the tools, techniques, and design ideas, it’s time to roll up your sleeves and start crafting. Remember, the best décor reflects your story—so let your walls speak.