Table of Contents
- Choosing the Right Wood for DIY Shelf Décor with Wood Boards
- DIY Shelf Décor with Wood Boards: Essential Tools and Safety Gear
- Design Strategies: From Minimalist to Statement Shelves
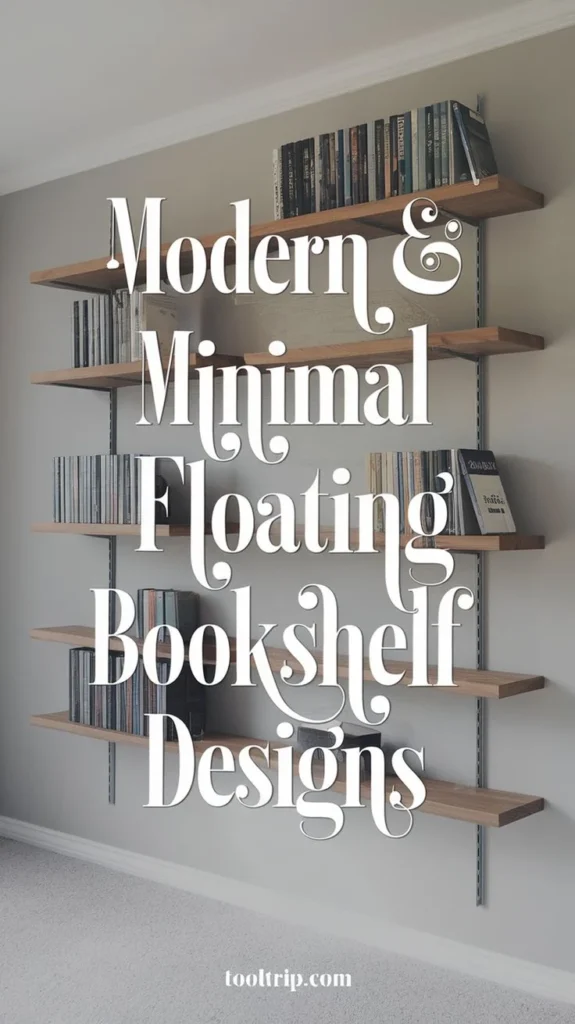
- Minimalist Floating Shelves
- Industrial Ladder Shelves
- Gallery‑Style Multi‑Tier Displays
- Finishing Techniques That Make Your Shelves Shine
- Staining for Rich Grain Highlight
- Paint for Bold Color Statements
- Clear Protective Coats
- Quick Tips for DIY Shelf Décor with Wood Boards
- Common Mistakes and How to Avoid Them
- Frequently Asked Questions
- How do I attach floating shelves securely?
- Can I use reclaimed wood for bathroom shelf décor?
- What is the best height for a kitchen spice shelf?
- Do I need a permit for wall‑mounted shelves?
- How often should I refinish my wood shelves?
- Can I combine DIY shelf décor with LED lighting?
Wood boards have long been a favorite material for DIY enthusiasts, offering a blend of durability, natural warmth, and endless design possibilities. When you turn those simple planks into stylish shelf décor, you instantly add functional storage and a visual focal point that reflects personal taste. Whether you live in a compact apartment or a spacious house, a well‑crafted wooden shelf can elevate a living room, bedroom, kitchen, or even a hallway.
In this guide we’ll walk through everything you need to know about creating DIY shelf décor with wood boards—from selecting the right wood and tools, to finishing techniques that protect and beautify, and finally how to style the finished piece for maximum impact. By the end, you’ll have a clear roadmap to build shelves that not only serve a purpose but also become conversation‑starting décor.
Ready to roll up your sleeves? Let’s explore how a few boards and a bit of creativity can transform ordinary walls into curated displays that feel both modern and welcoming.
Choosing the Right Wood for DIY Shelf Décor with Wood Boards

The foundation of any successful shelf project starts with the material. While pine is budget‑friendly and easy to work with, hardwoods like oak, walnut, or maple lend a richer grain and greater durability. Consider the room’s traffic level: high‑use areas benefit from harder species, whereas a bedroom accent shelf can comfortably use softer wood.
When purchasing boards, keep these tips in mind:
- Check for warping: Lay the board on a flat surface; any gaps indicate warping.
- Mind the grain direction: Align the grain with the length of the shelf for a stronger visual flow.
- Finish compatibility: Some woods react differently to stains or paints; test a small area first.
For those who love a sustainable approach, reclaimed lumber adds character and reduces waste. Pair reclaimed boards with modern hardware for a striking contrast that fits both rustic and contemporary interiors.
DIY Shelf Décor with Wood Boards: Essential Tools and Safety Gear
Before you begin cutting, sanding, and assembling, gather the following essentials:
- Measuring tape and carpenter’s square
- Circular saw or miter saw for clean cuts
- Power drill with assorted bits
- Sandpaper (80, 120, 220 grit) or an orbital sander
- Clamps to hold pieces while gluing
- Protective eyewear and dust mask
Proper safety gear isn’t just a recommendation—it’s a must. A dust mask prevents inhalation of fine wood particles, and safety glasses shield your eyes from sawdust and debris.
Design Strategies: From Minimalist to Statement Shelves
Designing DIY shelf décor with wood boards is an opportunity to reflect your personal style. Below are three popular approaches, each adaptable to various rooms.
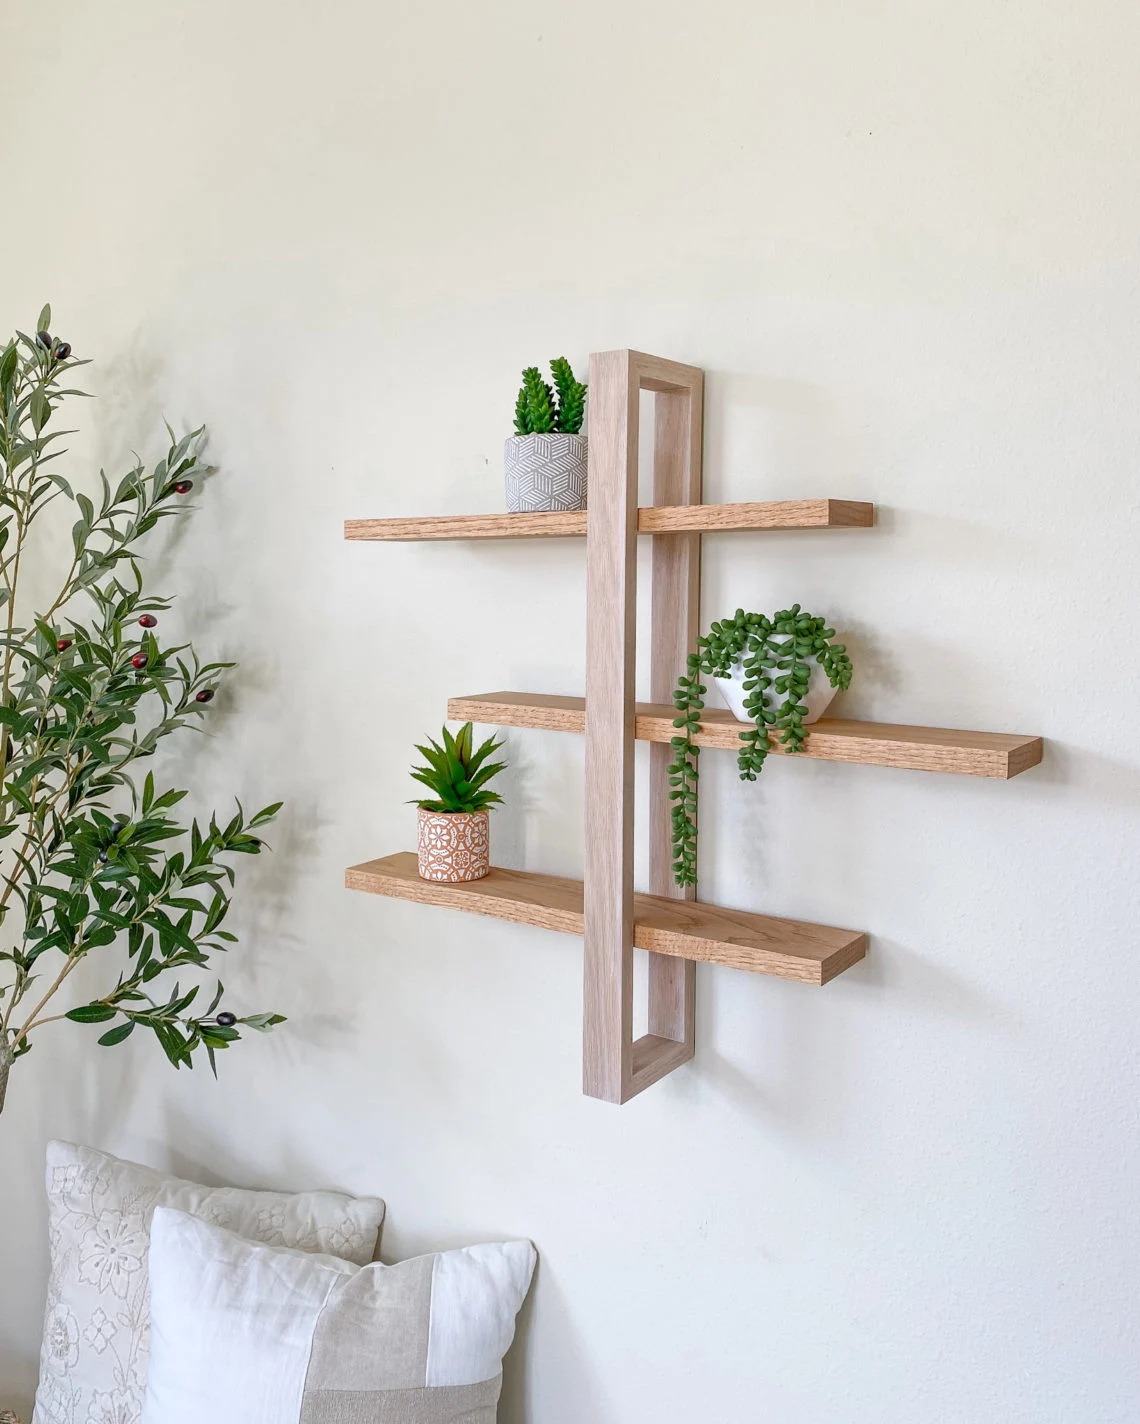
Minimalist Floating Shelves
Floating shelves create a clean, uncluttered look that’s perfect for modern living rooms or sleek kitchens. By hiding brackets behind the board, you achieve the illusion of weightlessness.
- Use ¾‑inch thick boards for sturdiness.
- Mount heavy-duty floating brackets that can support at least 20 lb per foot.
- Finish with a matte white paint or a light natural stain for a subtle backdrop.
These shelves work well for displaying neutral abstract art or small potted plants, echoing the vibe of our Wall Décor with Neutral Abstract Art guide.
Industrial Ladder Shelves
Ladder‑style shelves add a rugged charm, especially when paired with metal brackets or reclaimed pipes. Choose a wider board for the bottom rung and taper the width as you move upward for visual interest.
- Opt for raw or lightly sanded wood to preserve the industrial feel.
- Apply a clear polyurethane to protect against spills.
- Place in entryways for keys, mail, or decorative baskets.
Gallery‑Style Multi‑Tier Displays
For a gallery‑wall effect, install a series of staggered shelves at varying heights. This arrangement is ideal for small apartments where wall space is premium.
- Mix board lengths (e.g., 24″, 30″, 36″) for rhythm.
- Incorporate LED strip lighting to highlight décor items.
- Combine books, framed prints, and woven textile art for depth.
Need inspiration for framing? Check out Modern Wall Décor with Simple Frames for ideas on curating a cohesive visual story.
Finishing Techniques That Make Your Shelves Shine
A well‑finished surface not only looks polished but also prolongs the life of your DIY shelf décor with wood boards. Here are three finishing routes you can choose from.
Staining for Rich Grain Highlight
Stains enhance the natural grain, especially in hardwoods. Follow these steps:
- Sand the board progressively from 80 to 220 grit.
- Wipe clean with a tack cloth.
- Apply a pre‑stain conditioner to ensure even absorption.
- Brush on your chosen stain, let sit, then wipe off excess.
- Seal with a two‑coat polyurethane for durability.
Paint for Bold Color Statements
If you prefer a pop of color, choose a high‑quality interior paint. Matte or satin finishes are versatile for both modern and rustic themes. Remember to prime the wood first, especially if you’re covering a dark stain with a light hue.
Clear Protective Coats
For a natural look that still guards against scratches and moisture, a clear coat is ideal. Water‑based polyurethanes dry faster and emit fewer odors—great for apartments where ventilation is limited.
Quick Tips for DIY Shelf Décor with Wood Boards
- Measure twice, cut once: double‑checking dimensions avoids waste.
- Use a level when mounting floating shelves; a slight tilt is noticeable.
- Incorporate hidden brackets for a clean aesthetic without sacrificing support.
- Mix textures—pair wood with metal, glass, or woven baskets for visual balance.
- Plan your layout on the floor before drilling into walls to avoid misplacement.
Common Mistakes and How to Avoid Them
Even seasoned DIYers stumble on a few pitfalls. Recognizing them early saves time and money.
- Overloading shelves: Exceeding weight limits leads to sagging or wall damage. Use appropriate brackets and check load ratings.
- Skipping sandpaper grit progression: Jumping straight to fine grit can leave deep scratches. Follow a gradual sanding sequence.
- Ignoring wood expansion: Wood expands with humidity; leave a slight gap between boards on longer shelves.
- Poor lighting: Shelves placed in dim corners become invisible. Add accent lighting or position near existing sources.
Frequently Asked Questions
How do I attach floating shelves securely?
Use a stud finder to locate wall studs, then drive heavy‑duty brackets into the studs. For drywall only, toggle bolts can provide adequate support, but studs remain the safest option.
Can I use reclaimed wood for bathroom shelf décor?
Yes, as long as the wood is properly sealed with a moisture‑resistant finish. Consider a marine‑grade polyurethane to protect against steam and splashes.
What is the best height for a kitchen spice shelf?
Place the shelf between eye level and waist height (about 45–55 inches from the floor). This keeps spices within easy reach without crowding counter space.
Do I need a permit for wall‑mounted shelves?
Typically, no permit is required for decorative shelving. However, if you’re installing heavy load‑bearing units in a rented property, check the lease agreement or consult the landlord.
How often should I refinish my wood shelves?
Refresh the finish every 2–3 years in high‑traffic areas, or sooner if you notice wear, water spots, or fading.
Can I combine DIY shelf décor with LED lighting?
Absolutely. LED strips placed behind the back edge of a floating shelf create a subtle glow that highlights displayed items without excessive heat.
DIY shelf décor with wood boards offers a rewarding blend of practicality and aesthetic flair. By selecting the right wood, mastering basic tools, and applying thoughtful finishing techniques, you can craft pieces that complement any design style—from minimalist to industrial. Remember to plan your layout, respect weight limits, and protect your work with a suitable finish. As you experiment with different configurations, you’ll discover that a simple board can become a centerpiece that reflects your personality and enhances everyday living.
Feeling inspired? Dive deeper into related topics such as Small Home Office Layout Ideas or explore more wall‑decor inspiration through our Wall Décor with Beige Framed Prints guide. Happy building!