
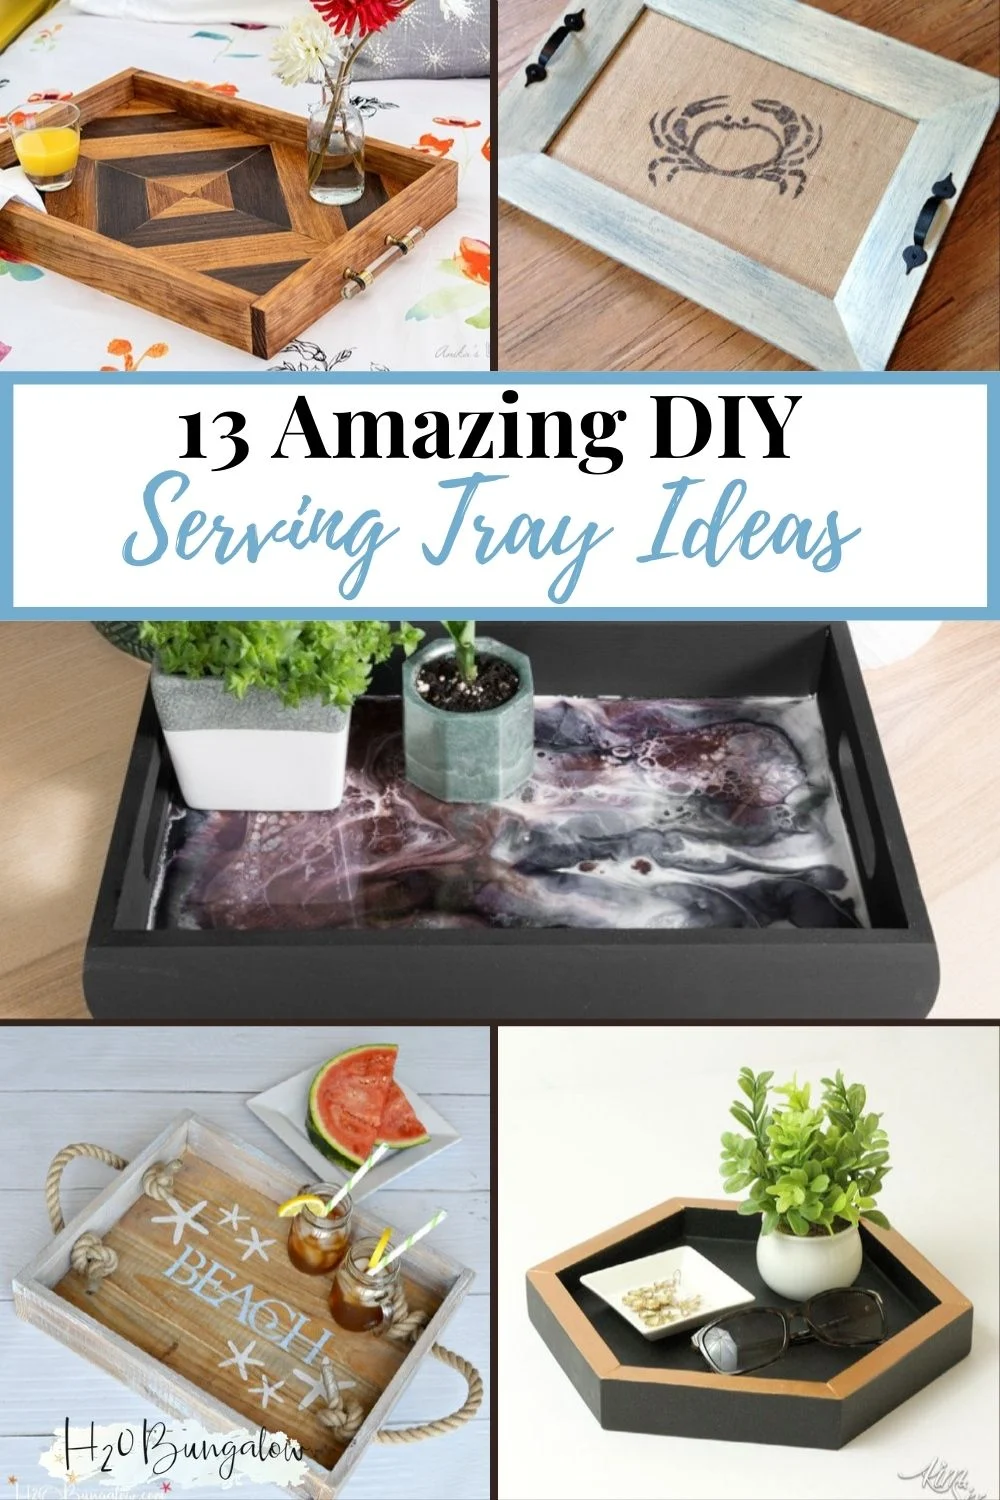
Table of Contents
- Choosing the Right Tray for DIY décor with simple wood trays
- Preparing and finishing DIY décor with simple wood trays
- Living room styling: Tray as a coffee‑table centerpiece
- Bedroom nightstand upgrade with DIY décor with simple wood trays
- Kitchen organization: Tray as a countertop collector
- Entryway and hallway accents using DIY décor with simple wood trays
- Outdoor patio makeover: Weather‑proof wood trays
- Quick Home Décor Tips
- Common Mistakes and How to Avoid Them
- Frequently Asked Questions
DIY décor with simple wood trays – Creative Ideas for Every Home
Wood trays are among the most versatile, affordable pieces you can find at a thrift store, a craft market, or even in your own garage. Their clean lines and sturdy construction make them perfect canvases for a wide range of decorative projects. Whether you’re looking to add a subtle touch of elegance to a bathroom vanity, create a functional entryway display, or design a striking centerpiece for your living room coffee table, a simple wood tray can become the hero of the design.
In this guide we’ll walk through the step‑by‑step process of turning ordinary trays into custom décor that reflects your personal style. You’ll learn how to choose the right tray, finish it with paint or stain, add functional accessories, and style it in different rooms of the house. By the end, you’ll have a toolbox of ideas that turn a modest wooden base into a polished, purposeful accent.
Choosing the Right Tray for DIY décor with simple wood trays
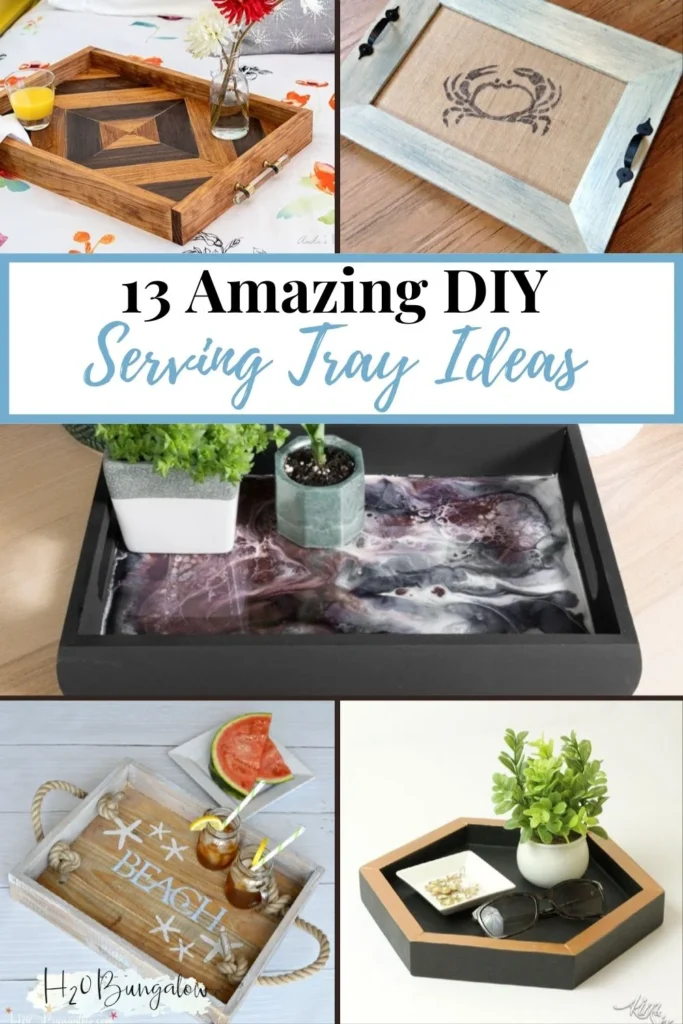
The first step in any successful project is selecting a tray that fits both your aesthetic and functional needs. Look for trays that have a flat surface, sturdy handles, and dimensions that suit the intended space. A 12‑inch round tray works well for a bedside table, while a larger rectangular tray (18 × 12 inches) can serve as a coffee‑table organizer. If you’re working with a reclaimed piece, inspect it for cracks or splinters that might need sanding.
Consider the wood type as well. Oak and maple provide a light, neutral base that’s easy to paint, whereas walnut or cherry offer a richer, darker hue that can be showcased with a clear finish. For a rustic vibe, you might select a distressed pine tray that already has character. Once you have your tray, the next step is preparing it for decoration.
Preparing and finishing DIY décor with simple wood trays
Preparation ensures a professional look and prolongs the life of your décor. Begin by cleaning the tray with a damp cloth to remove dust. Lightly sand the surface using 120‑grit sandpaper, then finish with 220‑grit for a smooth feel. If the wood has a glossy finish, apply a coat of deglosser or a thin layer of primer to help paint or stain adhere.
- Staining: Apply a wood stain with a soft cloth, working in the direction of the grain. Wipe away excess after a few minutes and let dry.
- Painting: For a bold, modern look, use a matte or semi‑gloss paint. Two thin coats give even coverage without obscuring the wood grain.
- Sealing: Finish with a clear polyurethane or a matte sealant to protect the surface from spills and everyday wear.
Once the tray is dry, you can start adding decorative elements that suit the room you’re styling.
Living room styling: Tray as a coffee‑table centerpiece
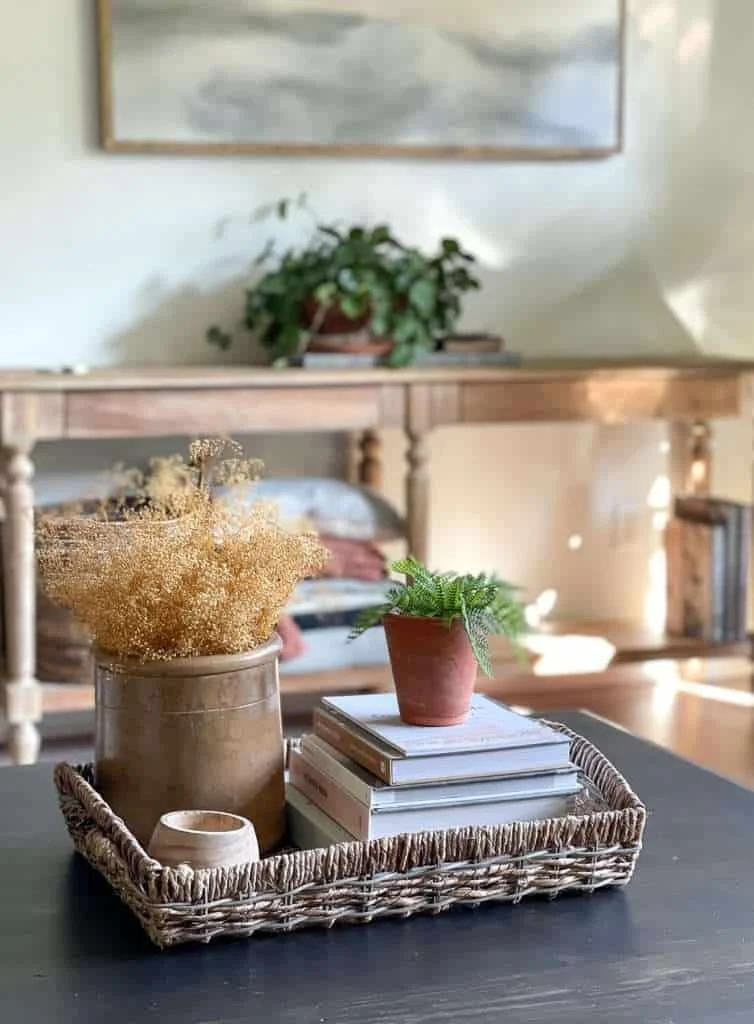
In the living room, a tray can instantly organize and elevate the coffee‑table area. Place a low‑profile tray on top of the table and arrange a stack of design books, a scented candle, and a small potted plant. The tray keeps items contained while providing a cohesive visual anchor.
For a pop of color, choose a pastel paint shade that matches your sofa cushions. Pair the tray with a calm color living room inspiration guide to ensure the hue works harmoniously with the overall palette. Adding a decorative tray also reduces the need for multiple small coasters or decorative plates, simplifying cleanup.
Bedroom nightstand upgrade with DIY décor with simple wood trays
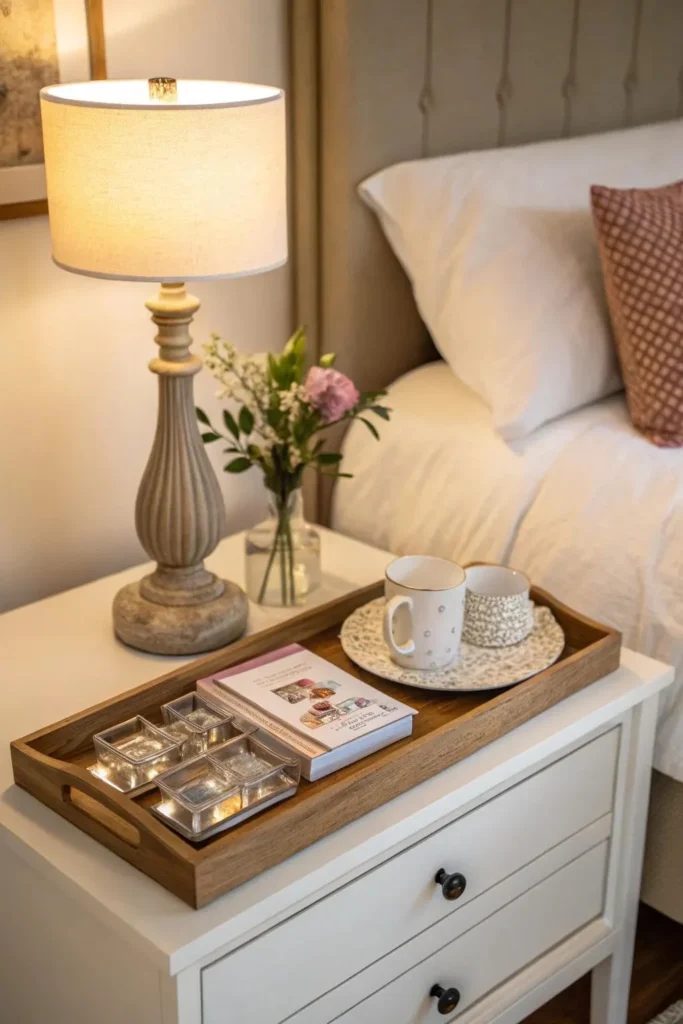
A bedside tray can double as a nightstand, especially in small apartments where floor space is limited. Choose a compact wooden tray, stain it to match your bedroom furniture, and attach soft rubber pads to the bottom to prevent scratches. On top, place a stylish lamp, a book, and a glass of water.
To make the tray more functional, add a small drawer pull or a hidden compartment underneath for jewelry. This approach merges the practicality of a nightstand with the aesthetic charm of a handcrafted piece. For more nightstand ideas, see our Bedroom Nightstand Styling Inspiration article.
Kitchen organization: Tray as a countertop collector
The kitchen is a high‑traffic zone where a simple wood tray can bring order to chaos. Use a rectangular tray to corral oil bottles, spice jars, and a small cutting board. When choosing a finish, a high‑gloss white paint can give a clean, modern look that complements stainless‑steel appliances.
If you’re debating cabinet styles, the wide vs narrow shaker cabinets guide helps you decide how a tray‑based countertop organizer fits into your overall kitchen layout. Adding a tray also protects countertops from scratches and spills, making clean‑up easier.
Entryway and hallway accents using DIY décor with simple wood trays
First impressions matter, and a welcoming entryway can be created with a well‑placed wood tray. Choose a sturdy tray, paint it a bold color that matches your front door, and line it with a decorative runner rug. Use the tray to hold keys, mail, and a small vase of fresh flowers.
For hallway styling tips, check out our article on Hallway Décor with Simple Lighting Lamps. Pairing the tray with a soft‑glow lamp adds warmth while keeping essential items organized and visible.
Outdoor patio makeover: Weather‑proof wood trays
Don’t limit your DIY décor with simple wood trays to indoor spaces. With a few protective steps, trays can become charming patio accessories. Apply an outdoor‑grade polyurethane or a marine varnish to seal the wood against moisture. Then, place a tray on a low table to hold cocktail glasses, candles, and a small herb planter.
The natural texture of the wood pairs beautifully with woven rattan furniture and soft outdoor cushions, creating a relaxed yet refined ambiance. A weather‑proof tray also offers a convenient spot for guests to set down drinks, reducing the need for multiple side tables.
Quick Home Décor Tips
- Use painter’s tape to create geometric patterns on the tray before painting for a modern look.
- Attach metal hooks underneath the tray to hang lightweight items like scarves or kitchen towels.
- Layer a thin layer of washi tape around the rim for a subtle, customizable border.
Common Mistakes and How to Avoid Them
Even seasoned DIYers can stumble when working with wood trays. One frequent error is skipping the sanding step, which leads to uneven paint absorption and a blotchy finish. Always sand lightly, even on pre‑finished trays, to create a uniform surface.
Another pitfall is overloading a tray with heavy items. While wooden trays are sturdy, they have weight limits; placing a large vase or heavy books can cause warping over time. Distribute weight evenly and consider reinforcing the tray with a thin metal bracket underneath if you plan to use it for heavier objects.
Frequently Asked Questions
Can I use a wooden tray as a wall-mounted shelf?
Yes. Attach sturdy brackets to the back of the tray and secure them to the wall studs. This creates a floating shelf that’s perfect for displaying plants, photos, or small décor items.
What type of paint works best on wood trays?
Acrylic latex paint provides good coverage and durability for indoor projects. For a smoother finish, use a chalk‑paint primer first, then sand lightly between coats.
How do I protect a painted tray from water damage?
Apply a clear, water‑based polyurethane sealant after the paint has fully cured. This adds a protective layer that repels spills and makes cleaning easy with a damp cloth.
Is it okay to distress a brand‑new wood tray?
Absolutely. Sanding the edges lightly, applying a dark stain to the corners, and wiping away excess can create a lived‑in look that adds character without buying a pre‑distressed piece.
Can I use a tray for indoor plant arrangements?
Yes, but line the tray with a waterproof mat or a thin layer of pebbles to catch excess water. This prevents the wood from absorbing moisture and prolongs the tray’s lifespan.
These answers address common concerns and help you feel confident as you embark on your DIY décor journey.
With a little creativity, a simple wood tray can become a versatile accent that enhances any room. From coffee‑table organizers to elegant entryway catch‑alls, the possibilities are limited only by your imagination. Experiment with colors, textures, and accessories, and watch how a modest piece transforms the ambience of your home.
Ready to start? Gather a tray, your favorite finish, and a few decorative objects, then let the process unfold. For more inspiration on modern home styling, explore other guides on The Homara, and enjoy the satisfaction of creating personalized décor that reflects your unique taste.