
Table of Contents
- Understanding the Home Decorators Collection Faux Wood Blinds
- How to Install Home Decorators Collection Faux Wood Blinds – Tools & Preparation
- How to Install Home Decorators Collection Faux Wood Blinds – Checklist
- Step 1: Measuring Your Windows Accurately
- Step 2: Assembling the Blinds
- Step 3: Mounting the Brackets
- Inside‑Mount Bracket Placement
- Outside‑Mount Bracket Placement
- Step 4: Attaching the Headrail and Final Adjustments
- Quick Tips for a Flawless Installation
- Common Mistakes to Avoid
- Frequently Asked Questions
- Can I install Home Decorators Collection faux wood blinds myself?
- What is the difference between inside‑mount and outside‑mount?
- Do I need a stud finder for inside‑mount installations?
- How do I clean faux wood blinds?
- Can I paint or stain the faux wood blinds?
- Will the blinds block heat and improve energy efficiency?
How to Install Home Decorators Collection Faux Wood Blinds – A Step‑by‑Step Guide
Faux wood blinds from Home Decorators Collection have become a staple for homeowners who want the warm look of real wood without the maintenance headaches. Whether you’re updating a sun‑filled living room, a cozy bedroom, or a compact studio apartment, these blinds offer durability, light control, and a timeless aesthetic that works with almost any décor style.
Installing them yourself can save you money and give you the satisfaction of a job well done. This guide walks you through every stage of the process— from measuring the window to fine‑tuning the tilt mechanism— while sprinkling in practical design advice that helps the blinds blend seamlessly with your overall interior design vision.
By the end of this article you’ll know exactly how to install Home Decorators Collection faux wood blinds like a pro, avoid common pitfalls, and add a polished finish to any room. Let’s get started.
Understanding the Home Decorators Collection Faux Wood Blinds
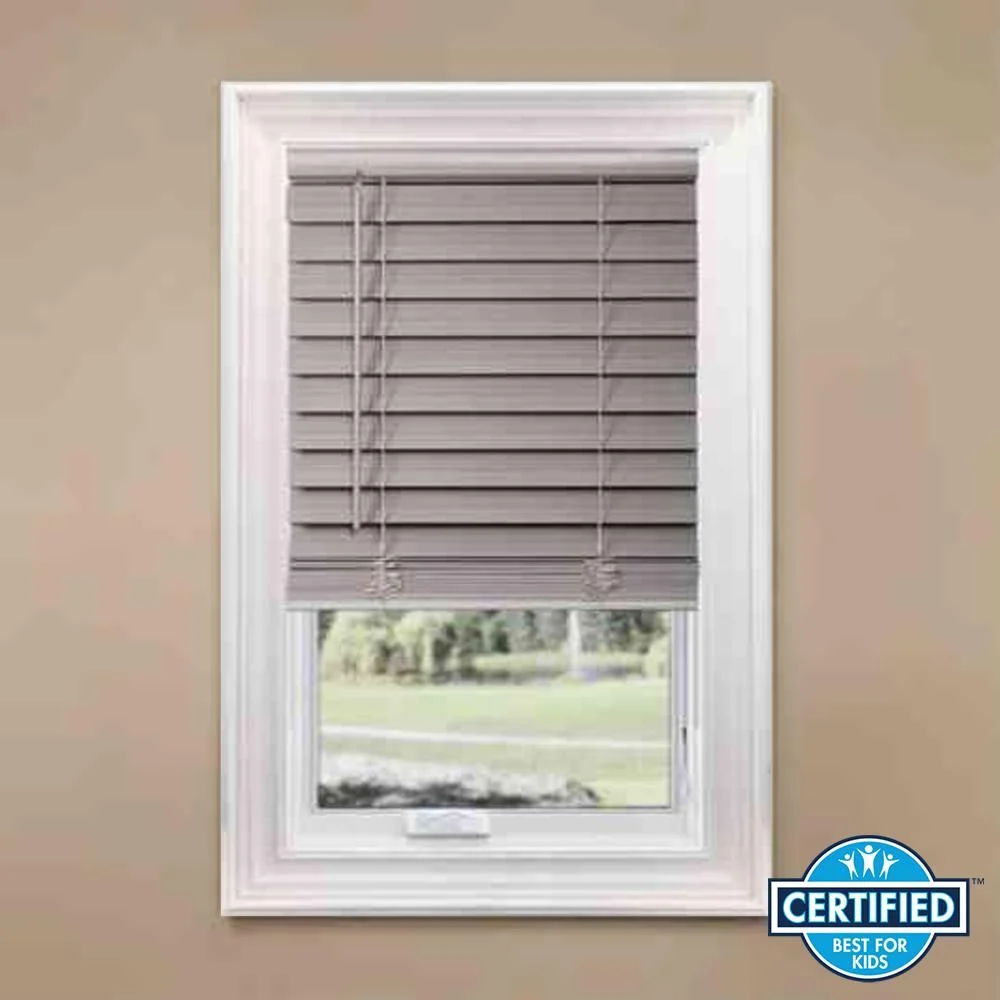
Before you reach for a screwdriver, it’s useful to know what makes these blinds stand out. The faux wood material is a high‑density composite that mimics the grain of real wood while resisting moisture, warping, and fading. This makes them especially suitable for high‑humidity areas like kitchens and bathrooms, as well as for families with children or pets.
Each blind comes in a kit that typically includes:
- Pre‑drilled headrail with tilt and lift cords
- Mounting brackets (inside‑mount or outside‑mount options)
- Slats (usually 24 or 32 per blind)
- Installation hardware: screws, wall anchors, and a mounting template
- Instruction booklet with diagrams
The design is intentionally modular, meaning you can replace individual slats or cords later without having to purchase a whole new set. This longevity aligns with the modern home décor emphasis on sustainability and long‑term value.
How to Install Home Decorators Collection Faux Wood Blinds – Tools & Preparation
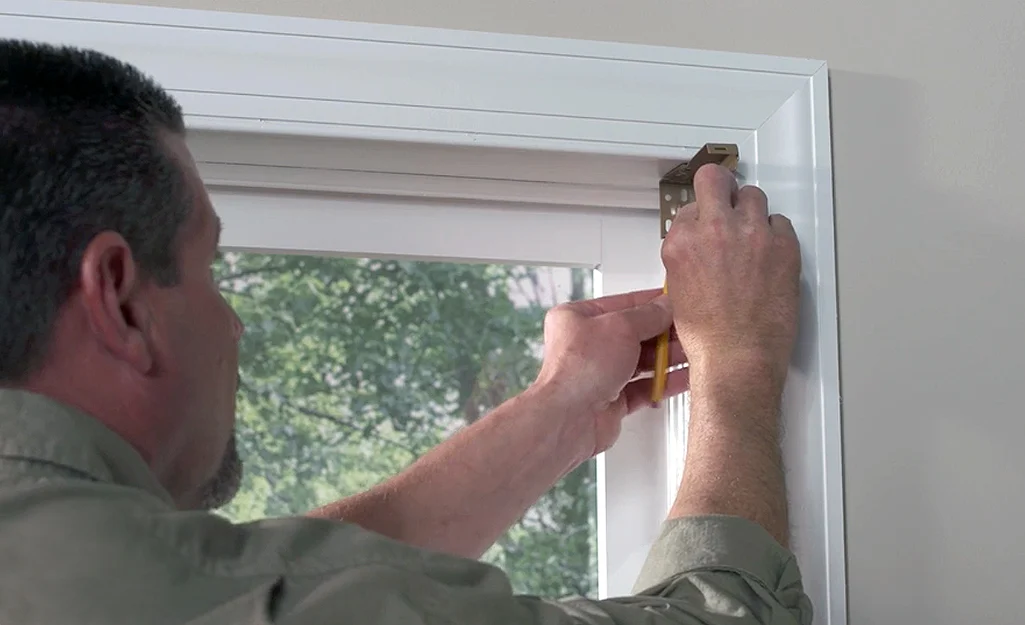
Having the right tools at hand will keep the process smooth and prevent damage to the blinds or your walls. Gather the following before you begin:
- Measuring tape (metal, at least 25 ft)
- Level (a 9‑inch torpedo level works well)
- Pencil for marking
- Drill with appropriate bits (usually 1/8‑in. for pilot holes, 3/16‑in. for anchors)
- Screwdriver (Phillips‑head)
- Stud finder (optional, but useful for heavy outside‑mount installations)
- Safety glasses
Start by reading the manufacturer’s instruction booklet thoroughly. While the steps are generally universal, certain models have specific hardware or bracket configurations. A quick read prevents you from having to backtrack later.
How to Install Home Decorators Collection Faux Wood Blinds – Checklist
- Confirm you have the correct blind size for each window.
- Decide between inside‑mount (gives a sleek, built‑in look) or outside‑mount (adds visual width).
- Gather all tools and lay out the hardware on a clean surface.
- Measure twice, mark once.
- Keep the work area clear of furniture to avoid accidental bumps.
Step 1: Measuring Your Windows Accurately
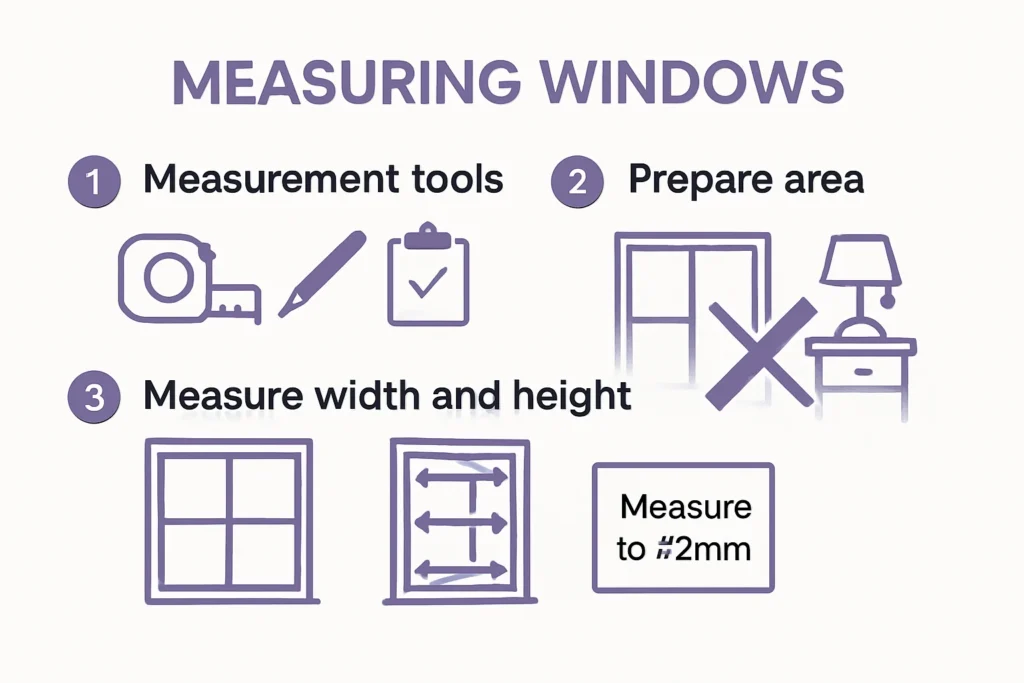
Precision in measurement is the foundation of a flawless installation. Follow these guidelines:
- Inside‑Mount: Measure the width at the top, middle, and bottom of the window opening. Use the narrowest measurement for the blind width. Height is measured from the top of the opening to the sill.
- Outside‑Mount: Measure the overall width you want the blinds to cover, typically adding 2–3 in. on each side for a balanced look. Height should be measured from the top of the window frame to the desired bottom edge, often extending 2–4 in. beyond the sill for a polished finish.
Write down each measurement and double‑check with a second pass. Errors at this stage are the most common reason homeowners need to reorder or make adjustments later.
Step 2: Assembling the Blinds
Most Home Decorators Collection faux wood blinds arrive partially assembled. The slats need to be clipped into the headrail, and the cord system must be threaded correctly.
Here’s a quick rundown:
- Lay the headrail on a flat surface, front side up.
- Insert the first slat into the designated slot at one end of the rail; you’ll hear a soft click.
- Continue adding slats, ensuring each clicks securely before moving to the next.
- When the last slat is in place, attach the tilt cord and lift cord according to the diagram. Typically the tilt cord runs through a small hole near the left side, while the lift cord attaches to the bottom of the headrail.
If you encounter resistance while inserting a slat, stop and check alignment. Forcing a slat can damage the internal rails, compromising the blind’s durability.
Step 3: Mounting the Brackets
Bracket placement depends on your chosen mounting style.
Inside‑Mount Bracket Placement
- Place the bracket on the interior side of the window frame where the headrail will sit.
- Use a level to ensure the bracket is perfectly horizontal.
- Mark the screw holes with a pencil.
- Drill pilot holes, insert wall anchors if needed, and secure the bracket with the supplied screws.
Outside‑Mount Bracket Placement
Outside‑mount brackets are affixed to the wall or trim surrounding the window. This method is ideal for windows that are too shallow for an inside‑mount.
- Determine the desired top edge of the blind; a good rule of thumb is 1–2 in. above the window frame.
- Hold the bracket against the wall, level it, and mark the screw locations.
- Drill pilot holes, insert anchors, and secure the brackets.
For heavier blinds, locate a wall stud with a stud finder and screw directly into the wood for added support.
Step 4: Attaching the Headrail and Final Adjustments
With brackets in place, the headrail can be mounted.
- Lift the assembled headrail and align the bracket slots with the installed wall brackets.
- Slide the headrail into place; you should feel a firm click as the brackets lock the rail.
- Test the tilt mechanism by pulling the tilt cord gently. The slats should tilt smoothly from fully open to fully closed.
- Adjust the lift cords so the blind hangs at the desired height. Most models have a cord cleat that allows you to secure excess cord.
Take a moment to open and close the blinds several times, checking for any binding or uneven movement. Small tweaks now prevent frustration later.
Quick Tips for a Flawless Installation
- Use a magnetic level. It sticks to metal brackets, giving you a quick visual cue for perfect alignment.
- Pre‑drill holes. Even with wall anchors, a clean pilot hole reduces the chance of cracking the drywall.
- Leave a small gap. When mounting inside, a 1/8‑in. clearance on each side prevents the blinds from rubbing against the frame.
- Check for glare. Position the blind so the tilt can block harsh sunlight without reflecting directly into the room.
- Combine with décor. Pair faux wood blinds with a neutral rug or a textured throw to add depth. For ideas, see our minimal bedroom window décor ideas guide.
Common Mistakes to Avoid
Even seasoned DIYers can slip up. Here are the most frequent errors and how to sidestep them:
- Incorrect measurement. Always measure the narrowest width for inside‑mount blinds. A blind that’s too wide will jam against the frame.
- Skipping the level. A slightly tilted bracket leads to uneven slats and a crooked appearance.
- Using the wrong screws. The kit includes screws sized for drywall; using longer or thinner screws can damage the wall or the bracket.
- Over‑tightening cords. Excess tension can cause the tilt mechanism to bind. Adjust cords until the blind hangs freely.
- Neglecting child safety. If you have young children, consider installing cordless tilt mechanisms or using a cord cleat to keep cords out of reach.
Frequently Asked Questions
Can I install Home Decorators Collection faux wood blinds myself?
Absolutely. The blinds are designed for DIY installation with clear instructions and all necessary hardware included. Most homeowners can complete the job in 30–60 minutes per window.
What is the difference between inside‑mount and outside‑mount?
Inside‑mount places the blind within the window frame, creating a streamlined look that shows off the trim. Outside‑mount hangs on the wall or trim surrounding the window, making the window appear larger and covering any unsightly frames.
Do I need a stud finder for inside‑mount installations?
Not typically. Inside‑mount brackets are light enough to be supported by drywall anchors. However, if you choose an outside‑mount for a larger blind, anchoring into a stud adds extra security.
How do I clean faux wood blinds?
Dust them weekly with a microfiber cloth or a soft brush attachment on a vacuum. For deeper cleaning, wipe the slats with a damp cloth and a mild soap solution, then dry immediately to avoid water spots.
Can I paint or stain the faux wood blinds?
The composite material is pre‑finished and does not accept paint or stain well. If you desire a different color, it’s better to choose a blind that matches your vision out of the box.
Will the blinds block heat and improve energy efficiency?
Faux wood blinds provide moderate insulation by reducing direct sunlight and air infiltration. Pairing them with window film or curtains can boost energy efficiency further.
Now that you know how to install Home Decorators Collection faux wood blinds from start to finish, you can confidently tackle the project in any room of your house. Whether you’re dressing a sun‑drenched living room or a quiet bedroom, these blinds deliver the perfect blend of style and practicality.
Remember to take accurate measurements, use a level, and follow each step methodically. If you encounter any hiccups, revisit the common mistakes section or consult the manufacturer’s FAQ. With patience and the right tools, you’ll achieve a professional result that enhances both the function and aesthetic of your space.
For more inspiration on pairing window treatments with furniture, explore our article on Living Room Décor with Soft Lighting – A Complete Guide. Happy installing!
Enjoy the fresh look, the improved light control, and the satisfaction of a job well done.